Elden Ring Nightreign Ultimate Guide: All Nightfarers, Builds, and Strategies
Elden Ring Nightreign guide with all 10 Nightfarers, tier list, and optimal builds. Nightlord boss strategies and Deep of Night endgame tips for co-op.
This guide covers everything you need to dominate Limveld, from the ten Nightfarers and their optimal builds to Nightlord strategies that'll save your team from countless wipes.

Understanding Nightreign's Core Loop
Before we dive into character specifics, you need to understand what makes Nightreign tick. This isn't your traditional Souls experience where you methodically explore at your own pace. Nightreign operates on a strict three-day cycle with real-time pressure that changes everything about how you approach combat and exploration.
Each expedition drops you and two teammates into Limveld, a procedurally generated realm that shifts and changes between runs. You have roughly ten minutes per day to explore, gather loot, level up, and prepare for the boss that arrives when night falls. Day one brings a mini-boss. Day two escalates. Day three? That's when the Nightlord appears, and if you're not prepared, you're getting sent back to the Roundtable Hold in pieces.
The Night's Tide is your constant enemy. As each day progresses, areas become inaccessible, forcing you to make hard decisions about where to spend your limited time. Do you chase that legendary weapon marker across the map, or do you hit the church for extra flask charges? These choices matter, and they compound across all three days.
Nightfarer Tier List: January 2026 Meta
After hundreds of hours across solo and co-op runs, and with the Forsaken Hollows DLC adding two new characters, here's how the Nightfarers stack up in the current meta:
S+ Tier
Wylder
The undisputed king of consistency. High damage, incredible mobility, one of the best ultimates in the game, and a passive that essentially gives you built-in enemy radar. His Sixth Sense ability alerts you to danger before it happens, making him virtually "noob-proof" while still rewarding skilled play.
S Tier
Ironeye
In a game where Nightlords spend half their time airborne and out of melee range, having a dedicated archer is invaluable. Ironeye's consistent ranged damage, team-wide item discovery buff, and that incredible Storm Arrow ultimate that can revive downed allies makes him essential for coordinated teams.
Duchess
Don't let her low health pool fool you. Duchess has some of the highest damage potential in the entire game when played correctly. Her Magnificent Poise passive gives her unique dodge animations with reduced stamina costs, and her Restage ability can proc devastating status effect chains.
A Tier
Executor
On paper, this Sekiro-inspired deflect master should be S-tier. The Cursed Sword ability has an incredibly forgiving parry window, and Beast Form ultimate shreds crowds. In practice, Nightreign's chaotic multi-enemy encounters make consistent parrying harder than it sounds.
Recluse
The highest skill ceiling character in the game. Her Magic Cocktail ability creates spell combinations that delete bosses, but she's paper-thin and demands precise execution. In coordinated teams, Recluse is terrifying. Solo? Prepare to suffer.
Raider
A straightforward brawler who excels at one thing: hitting really, really hard. His stance-breaking capabilities are excellent, and while his ultimate is underwhelming, his raw damage output with strength weapons makes him a solid pick.
Undertaker (DLC)
The Forsaken Hollows brought us this Faith/Strength bruiser, and she's quickly become a favorite. Her Trance ability removes stamina costs entirely while empowering combos, and Loathsome Hex is one of the most satisfying gap-closers in the game.
B Tier
Guardian
The tankiest character with the highest base health and enhanced blocking. But here's the problem: in Nightreign, killing quickly IS your defense. Guardian struggles to keep pace with damage dealers, though he remains valuable in teams lacking survivability.
Revenant
A uniquely challenging Nightfarer that less than 15% of players use. Dedicated Revenant mains report 22% higher success rates in co-op, but she demands complete mastery of her kit to be effective.
Scholar (DLC)
The high-Arcane academic excels with light swords and daggers, gaining advantages through battlefield observation. Great for status effect builds, but requires specific relic combinations to truly shine.
Character Deep Dives: Builds That Actually Work
Wylder: The All-Rounder
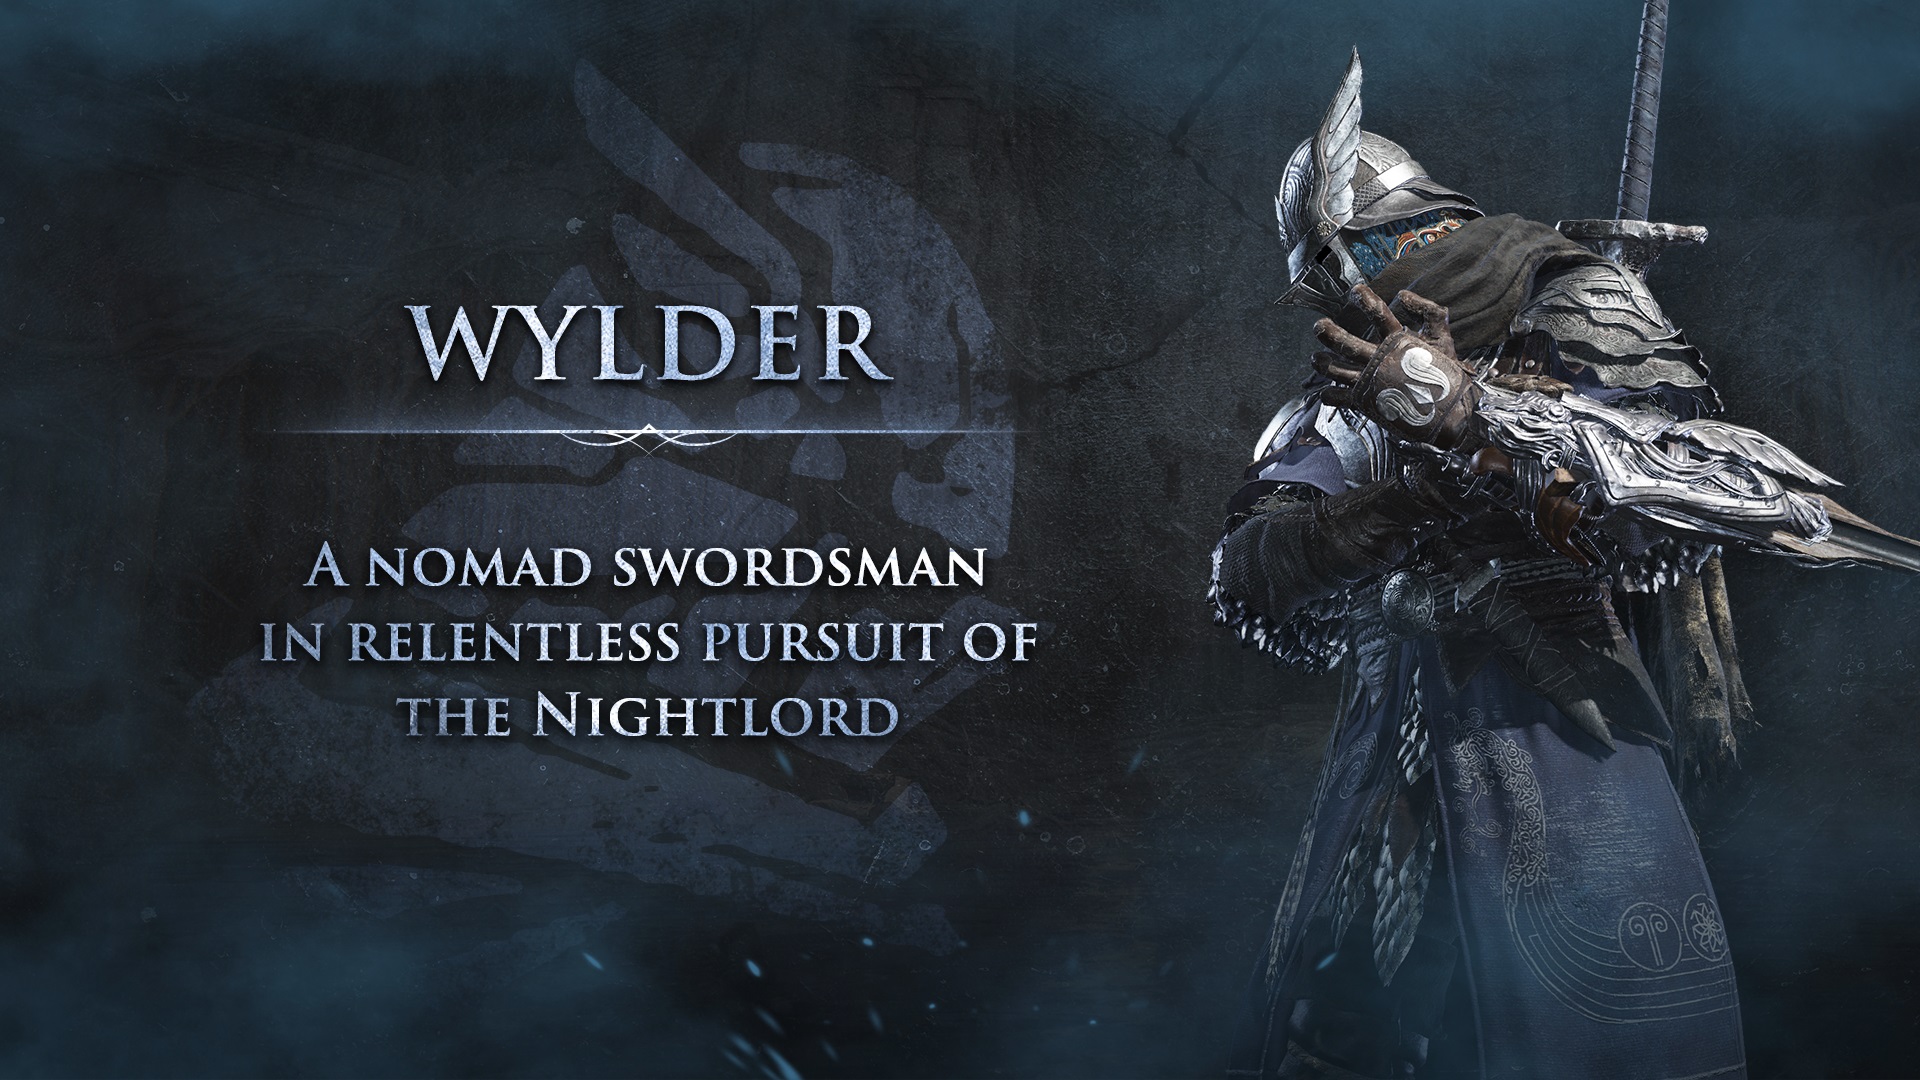
Wylder is Nightreign's do-it-all adventurer, equal parts agile, durable, and beginner-friendly. If you're jumping into Nightreign for the first time, start here.
Optimal Build: - Primary Weapon: Ordovis's Greatsword or Axe of Godrick - Signature Relic: Slate Whetstone - Stats Priority: Strength > Dexterity
The Axe of Godrick is particularly nasty on Wylder. Its unique passive emits an AoE burst during charged heavy attacks, making it perfect for clearing enemy packs while staggering larger threats. Pair this with relics that boost Strength scaling and you've got a build that trivializes most content.
Pro Tip: Wylder's grappling hook follow-up attacks (from his signature relic) deal massive damage. Learn to weave them into your combos for burst damage that rivals dedicated DPS characters.
Ironeye: The Ranged Executioner
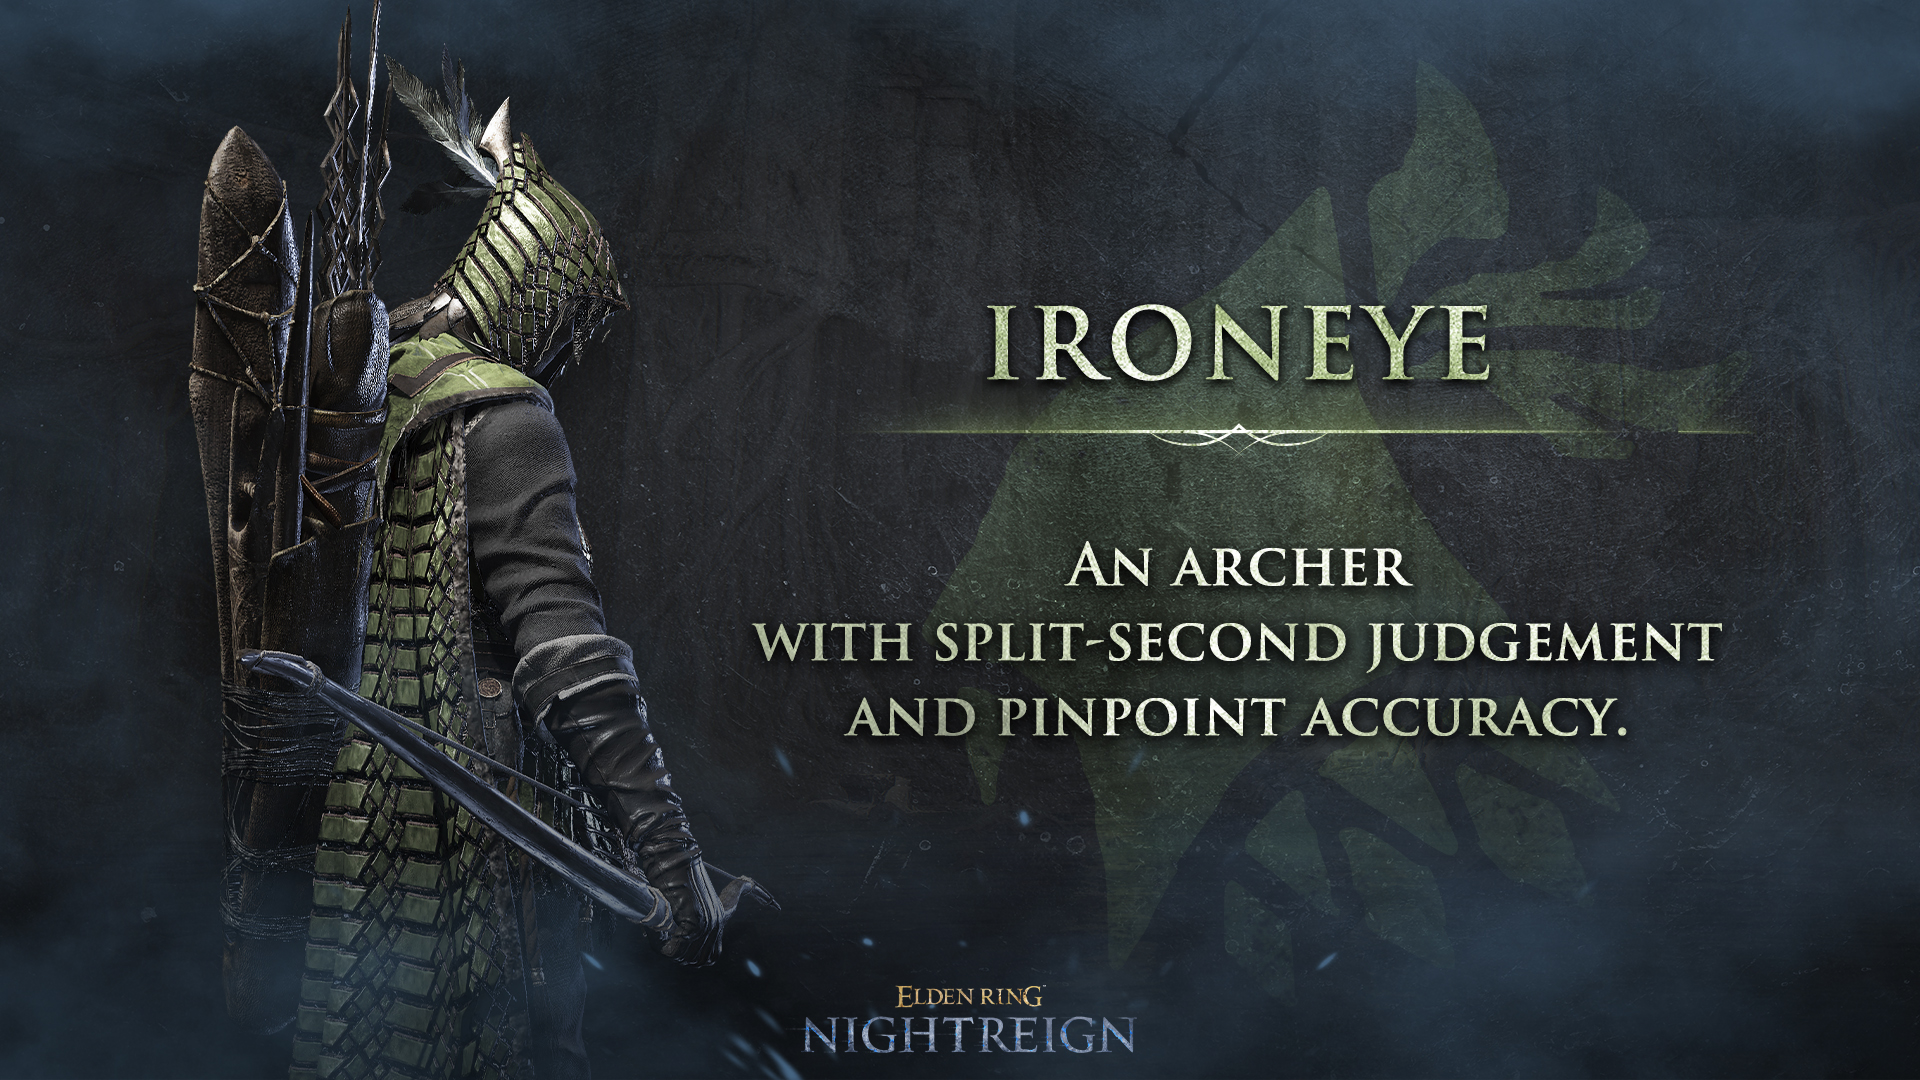
Ironeye transforms ranged combat from a support role into a primary damage dealer. His Eagle Eye passive increases the entire team's item discovery, and his faster bow fire rate compared to other Nightfarers makes him a sustained damage machine.
Optimal Build: - Primary Weapon: Harp Bow (early) or Lion Greatbow (late) - Signature Relic: Edge of Order - Stats Priority: Dexterity > Strength
The Harp Bow's Barrage skill allows rapid arrow volleys that are perfect for early game aggression. As you progress, the Lion Greatbow's devastating poise damage shreds Nightlords.
Here's a secret most players miss: Night of the Champion (from Everdark Fulghor) is absolutely broken on Ironeye. It increases stamina and heals 2.5% HP on counterattacks. Since arrows count as thrusting attacks, a skilled Ironeye can virtually abandon healing flasks entirely.
Duchess: The Status Effect Queen
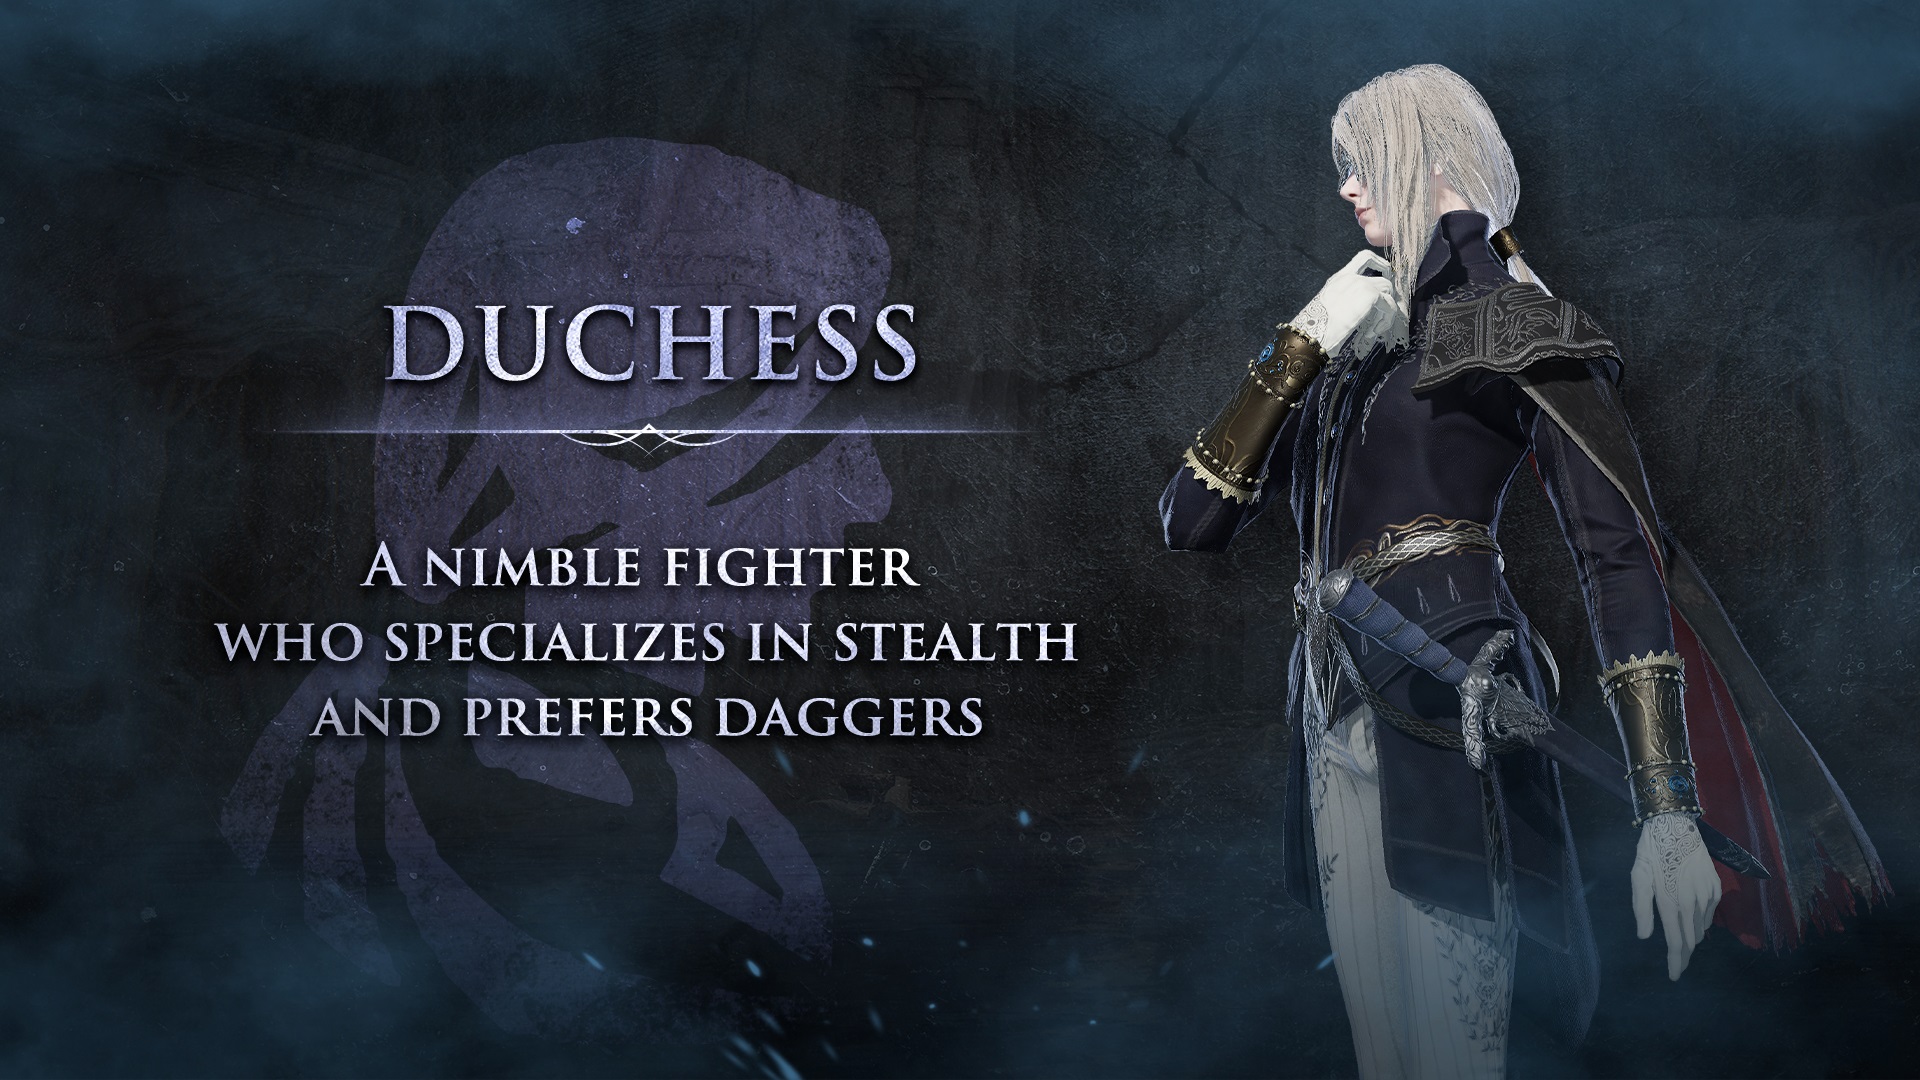
Duchess wields the smallest blade among Nightreign's champions but packs the highest damage potential when you understand her kit. Her Intelligence scaling at A-tier makes her surprisingly sorcery-focused.
Optimal Build: - Primary Weapon: Dual Reduvia Daggers or Rivers of Blood - Key Relics: Status effect duration and proc rate boosters - Stats Priority: Intelligence > Dexterity > Faith
The real magic happens with her Restage ability. Apply a status effect, trigger Restage, and watch the damage numbers explode. Dual Antspur Rapiers maximize Scarlet Rot buildup, while Frozen Needles provide consistent Frostbite procs.
Combat Flow: One-handed status dagger during exploration (faster moveset with dodge cancels), save spells for boss burst phases. Her Finale ultimate grants team-wide invisibility, use it to disengage for heals or reposition for devastating backstabs.
Executor: The Deflect Master
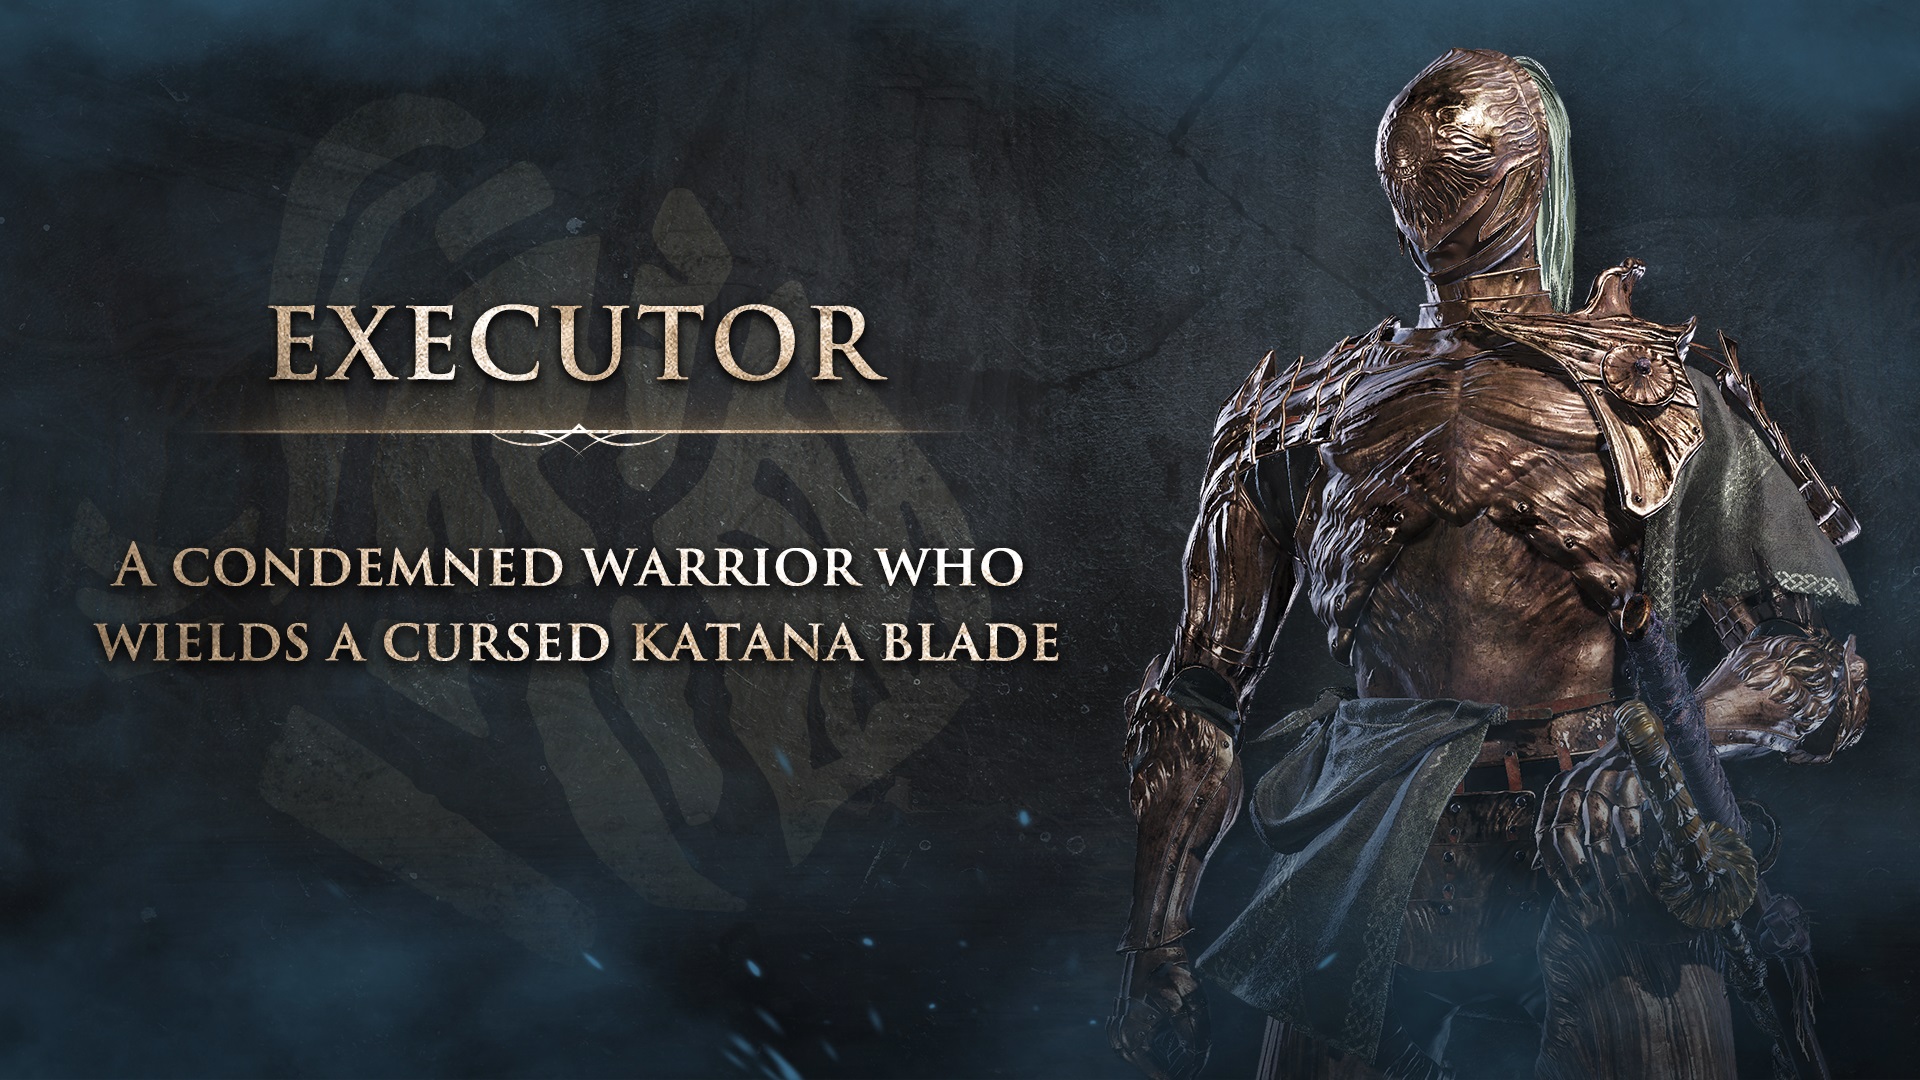
If you loved Sekiro, Executor is your character. His Cursed Sword deflect has a generously forgiving window that puts the original game to shame.
Optimal Build: - Primary Weapon: Starting Katana or Rivers of Blood - Signature Combo: Seppuku + Frost for dual status procs - Stats Priority: Arcane > Dexterity
Executor's starting weapon has built-in bleed. Layer Poison or Frost on top for dual status effects that melt boss health bars. Just watch your FP, Executor has the lowest starting FP pool, and skills like Corpse Piler drain it fast.
Warning: Rivers of Blood is incredible but will empty your FP in seconds. Prioritize relics that restore FP on kills or crits.
Raider: The Stance Breaker
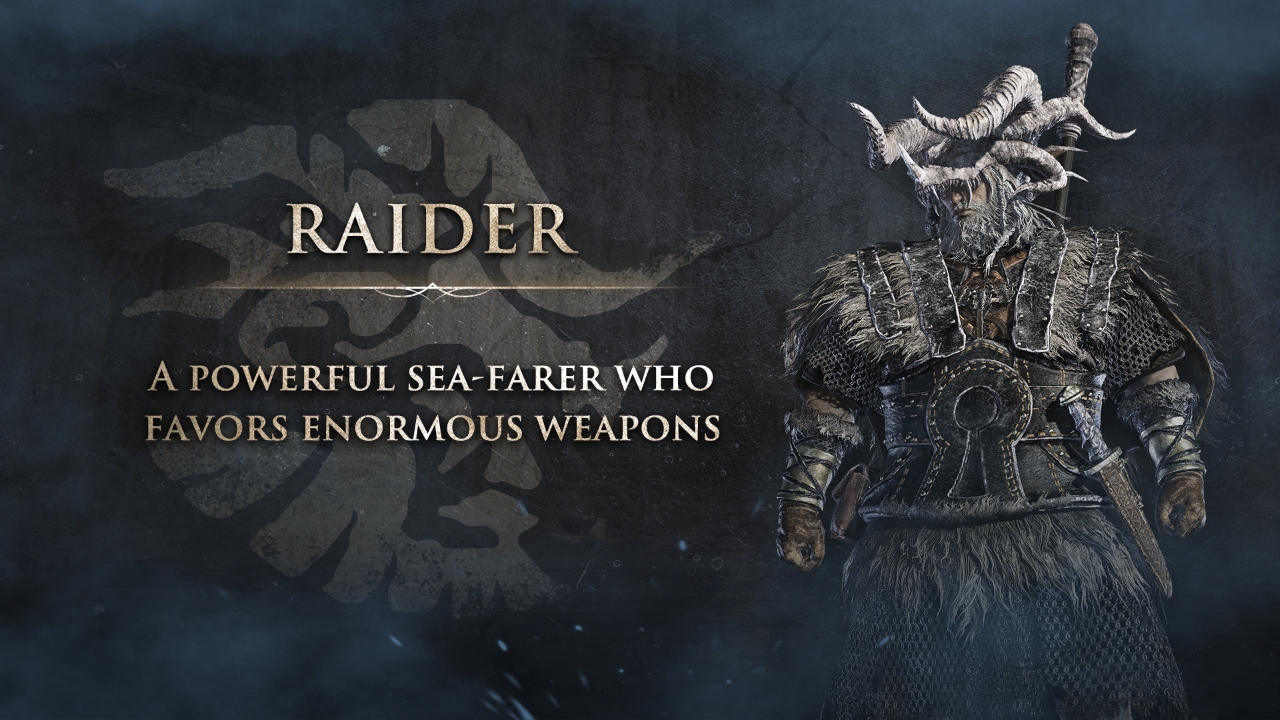
Raider doesn't do anything fancy. He picks up the biggest weapon he can find and swings until everything stops moving. And honestly? That's beautiful.
Optimal Build: - Primary Weapon: Rotten Greataxe (Scarlet Rot is disgustingly effective) - Signature Relics: Torn Braided Cord, Black Claw Necklace - Stats Priority: Strength > Vigor
Raider's starting weapon is mediocre, but his weapon pool is massive. Colossal swords, great axes, hammers, if it's big and heavy, Raider can use it effectively. Look for Scarlet Rot or Bleed weapons to add status pressure alongside raw damage.
Dual-Wielding Tip: Two colossal swords might seem excessive, but the dual L1 attack is perfect against mobile Nightlords where you only get one attack window. Maximum damage per opening.
Guardian: The Immovable Object
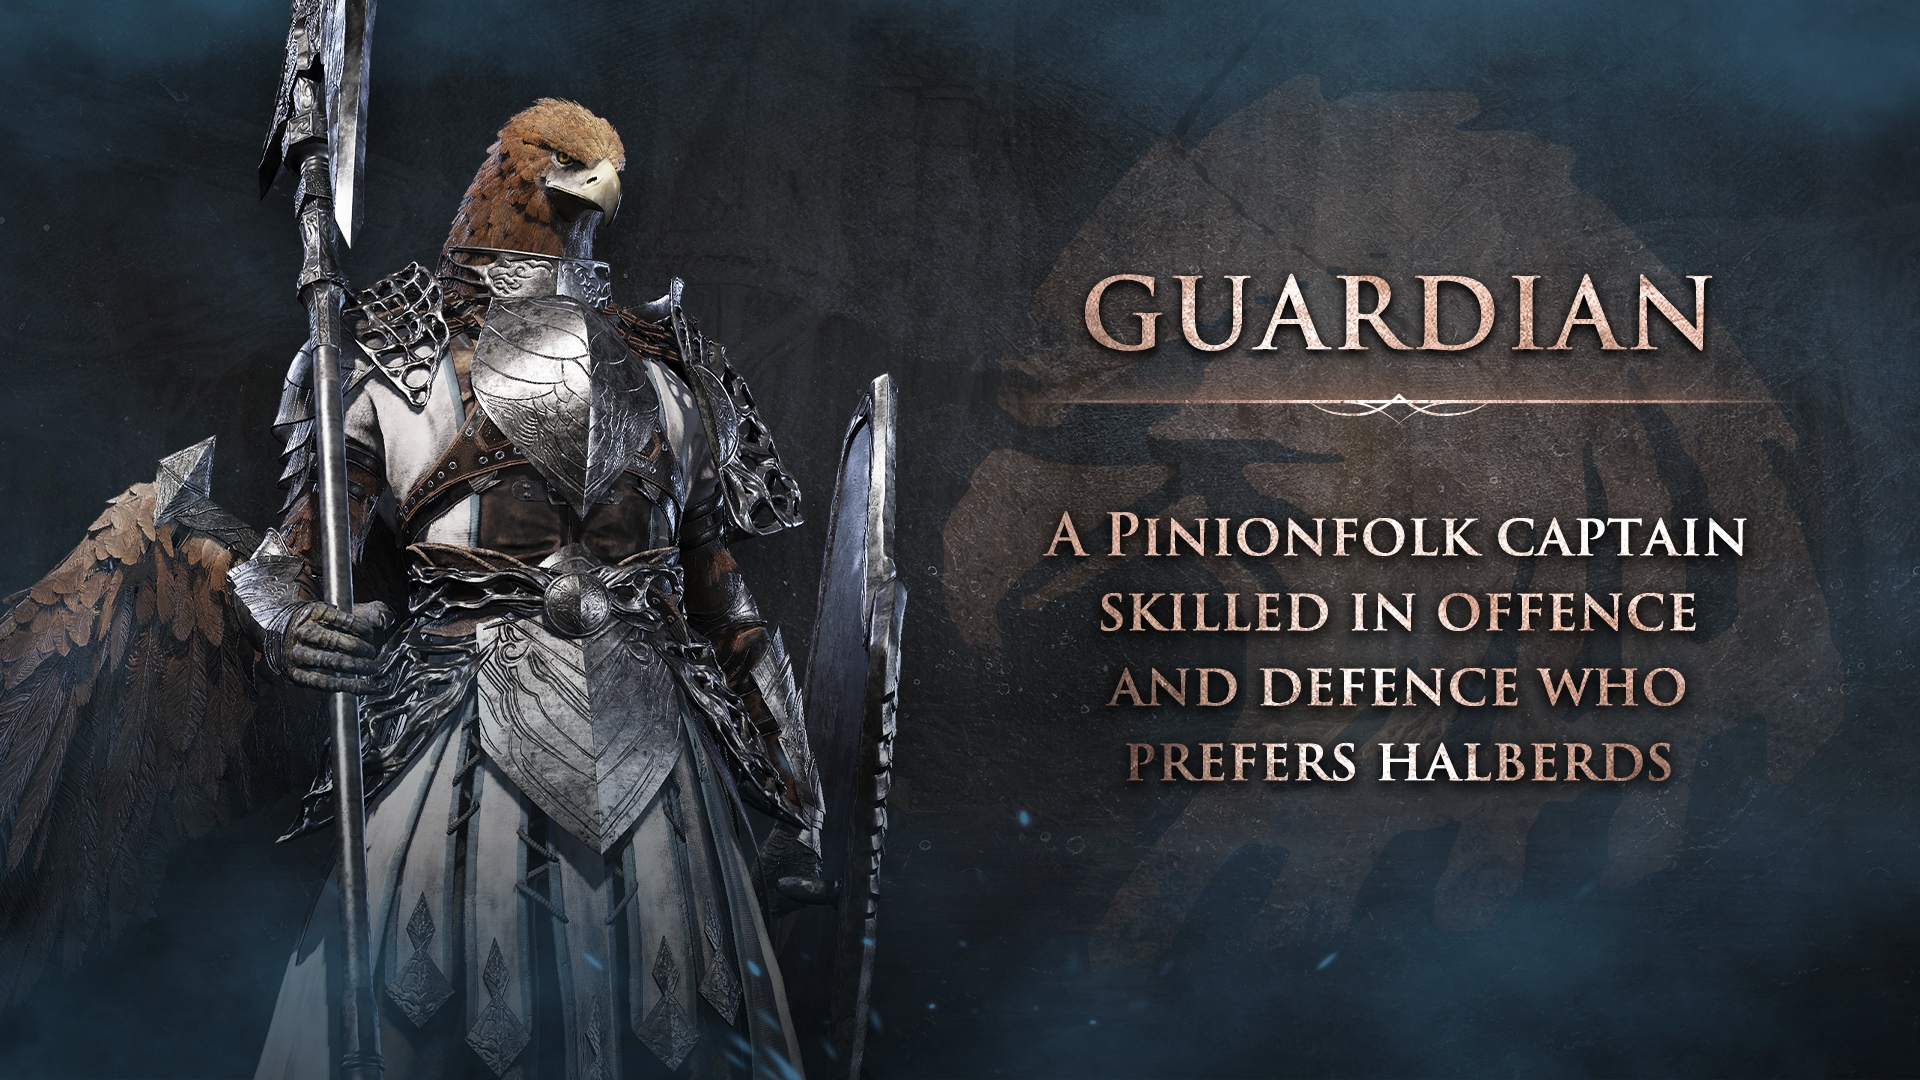
Guardian has become significantly better since launch, with recent patches adding powerful Depth Relics that let him deal damage while maintaining his tank identity.
Optimal Build: - Primary Weapon: Commander's Standard - Signature Relic: Stone Stake - Stats Priority: Strength > Vigor
Guardian's guard counter build is surprisingly effective now. Stack HP-scaling damage relics and you become a counterattacking wall that punishes every enemy swing. Not glamorous, but effective.
Recluse: High Risk, Higher Reward
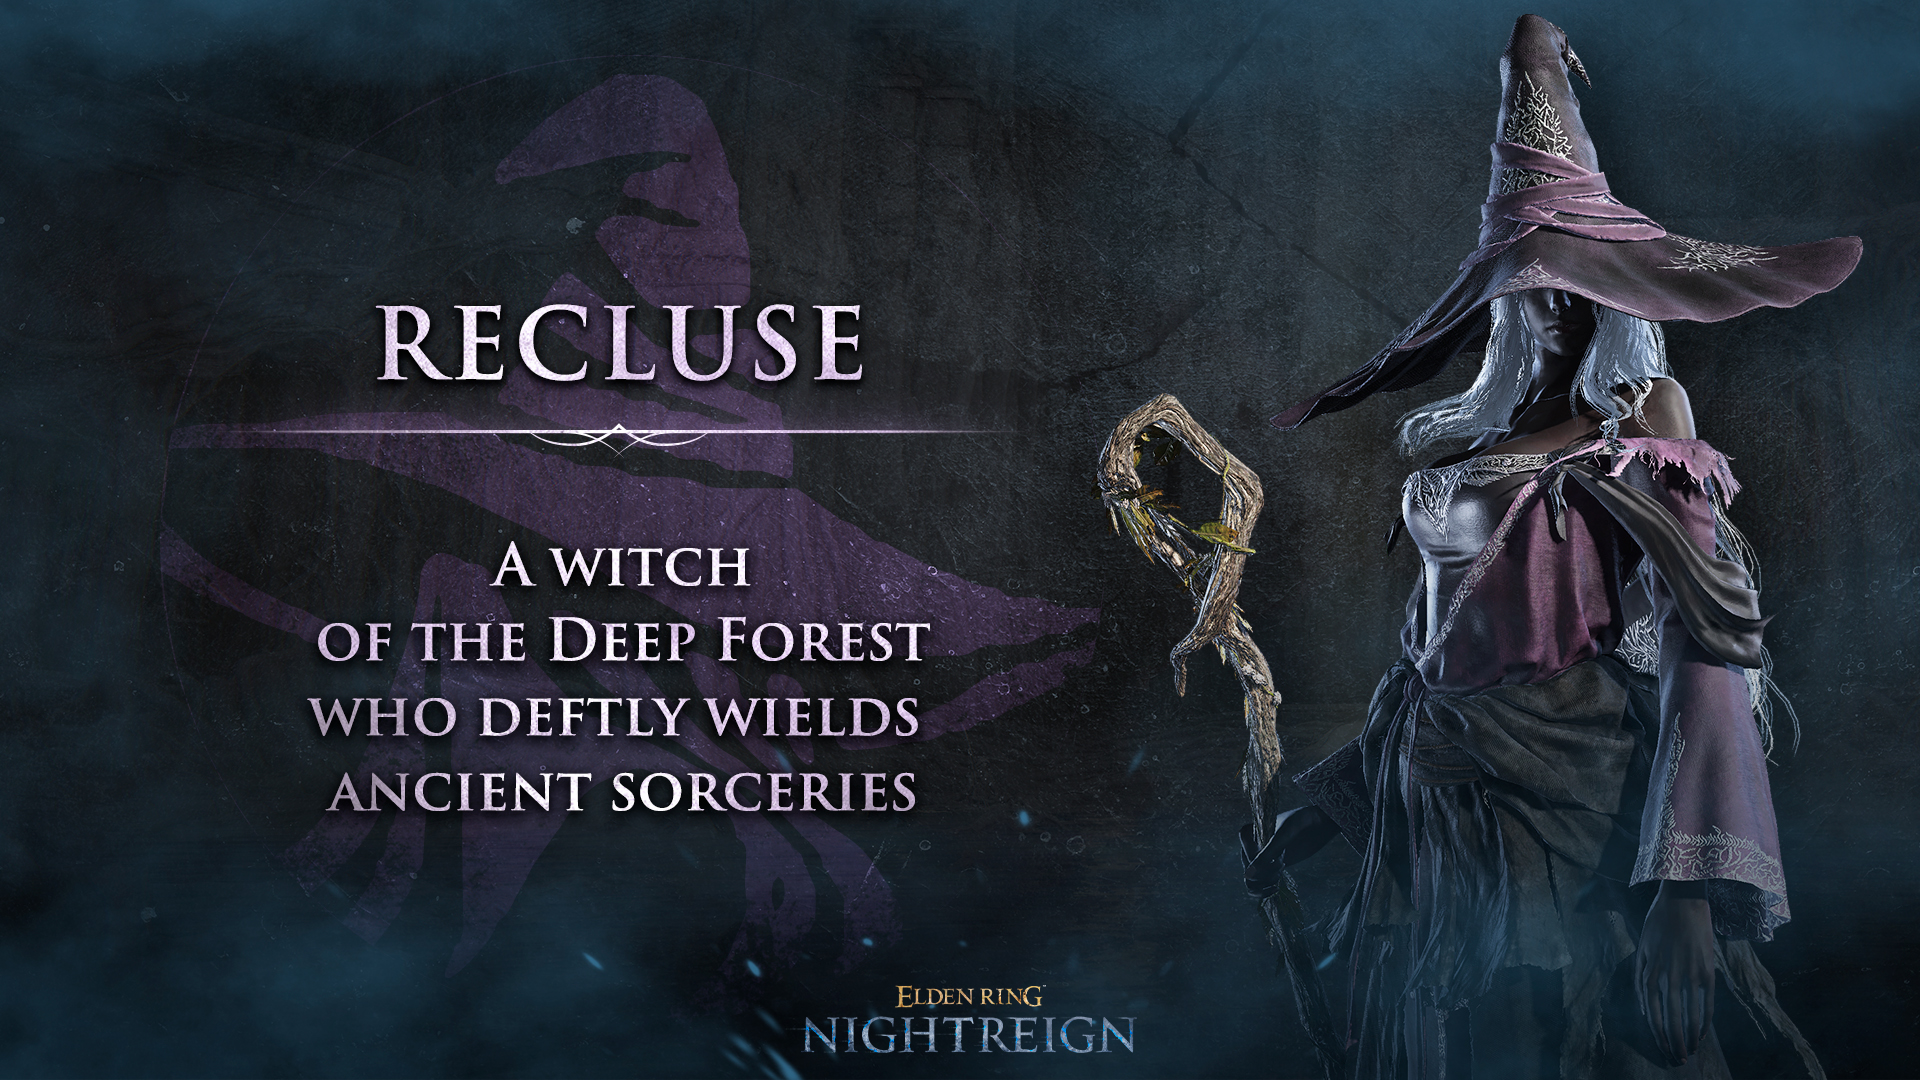
Recluse is not for beginners. Her Magic Cocktail combinations can delete Nightlords in seconds, but one mistake means instant death.
Optimal Build: - Primary Weapon: Best staff you can find - Key Focus: Spell combinations and FP management - Stats Priority: Intelligence > Faith (both at S-scaling)
Recluse should always get priority on staff drops, she's building exclusively for spellcasting and will outperform Duchess in pure magic damage every time. Coordinate with your team to funnel her the best casting equipment.
Revenant: The Specialist's Choice
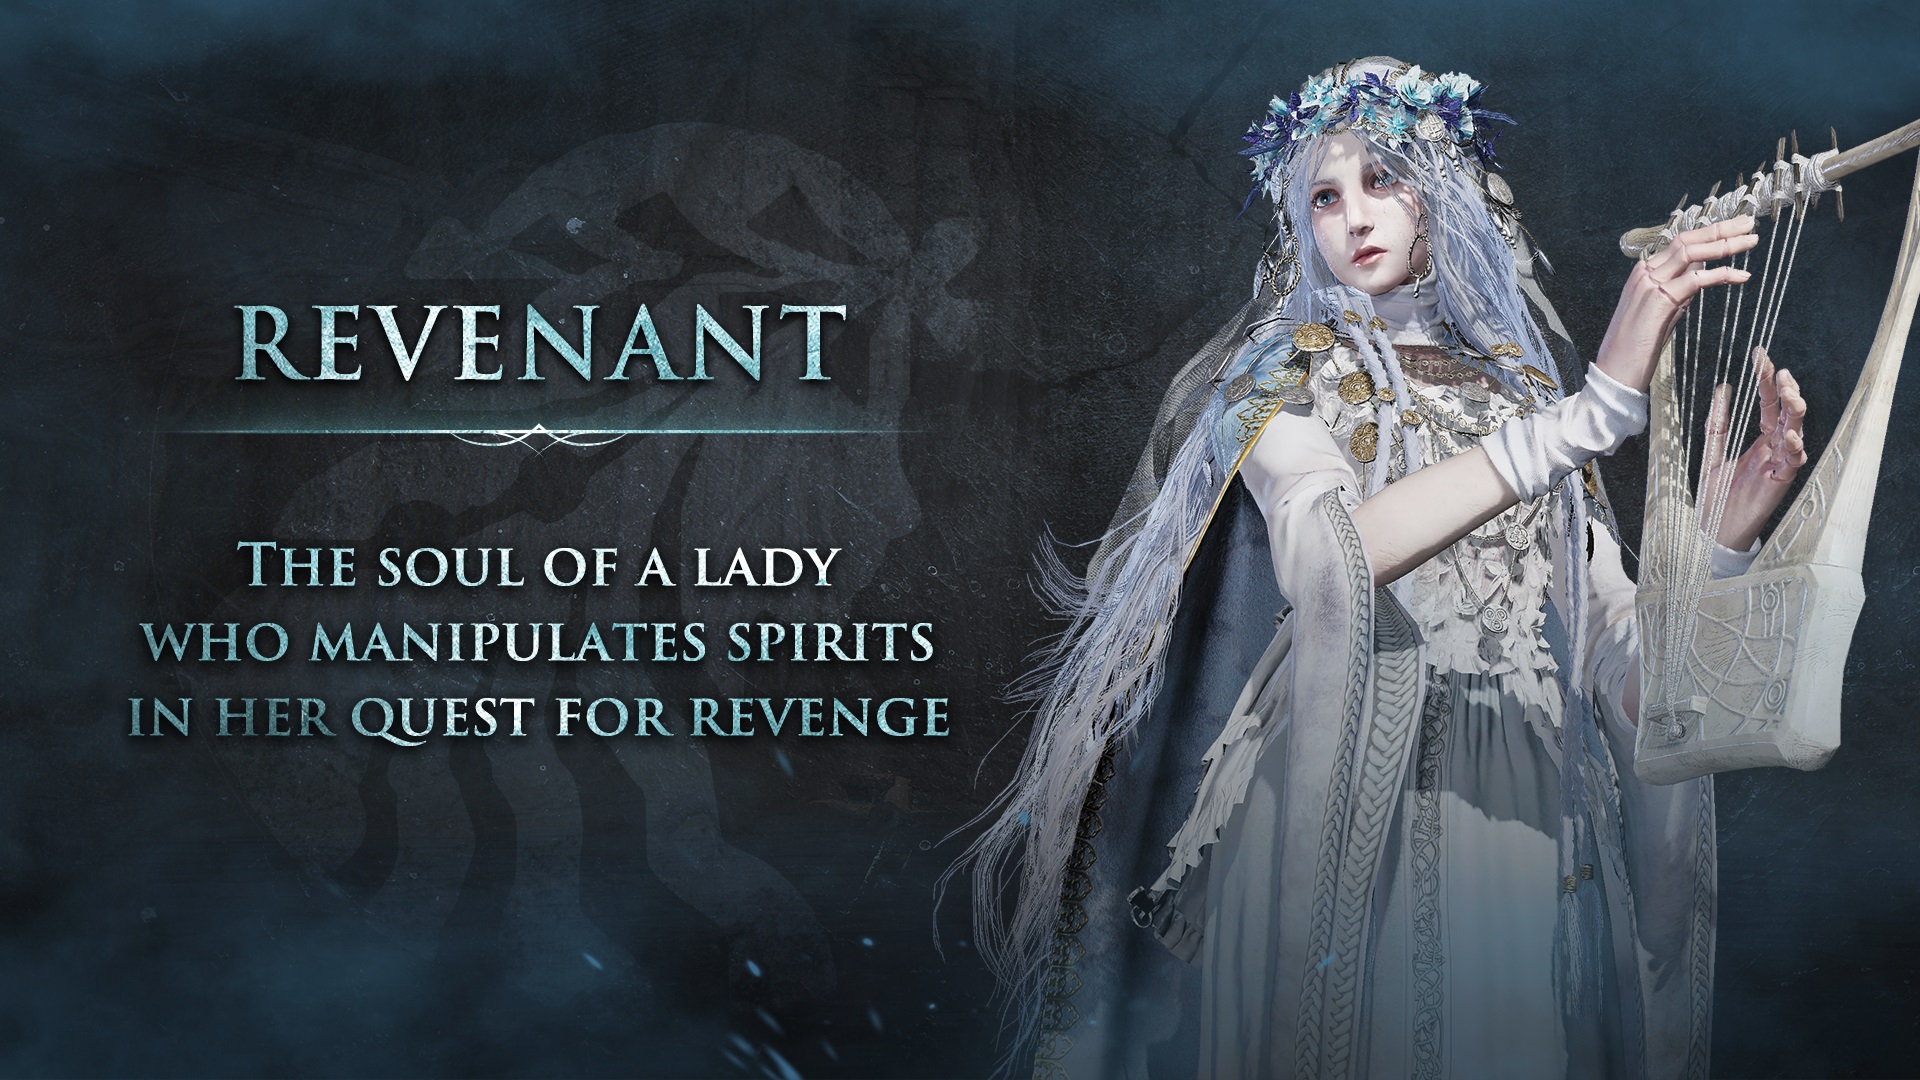
Revenant represents less than 15% of the player base, but dedicated mains swear by her. She excels in coordinated boss-rush scenarios where her unique kit can be properly supported.
Build Focus: Revenant rewards players who understand boss patterns intimately. Her kit punishes mistakes but provides incredible burst windows for teams who can create openings.
Scholar (DLC): The Arcane Academic
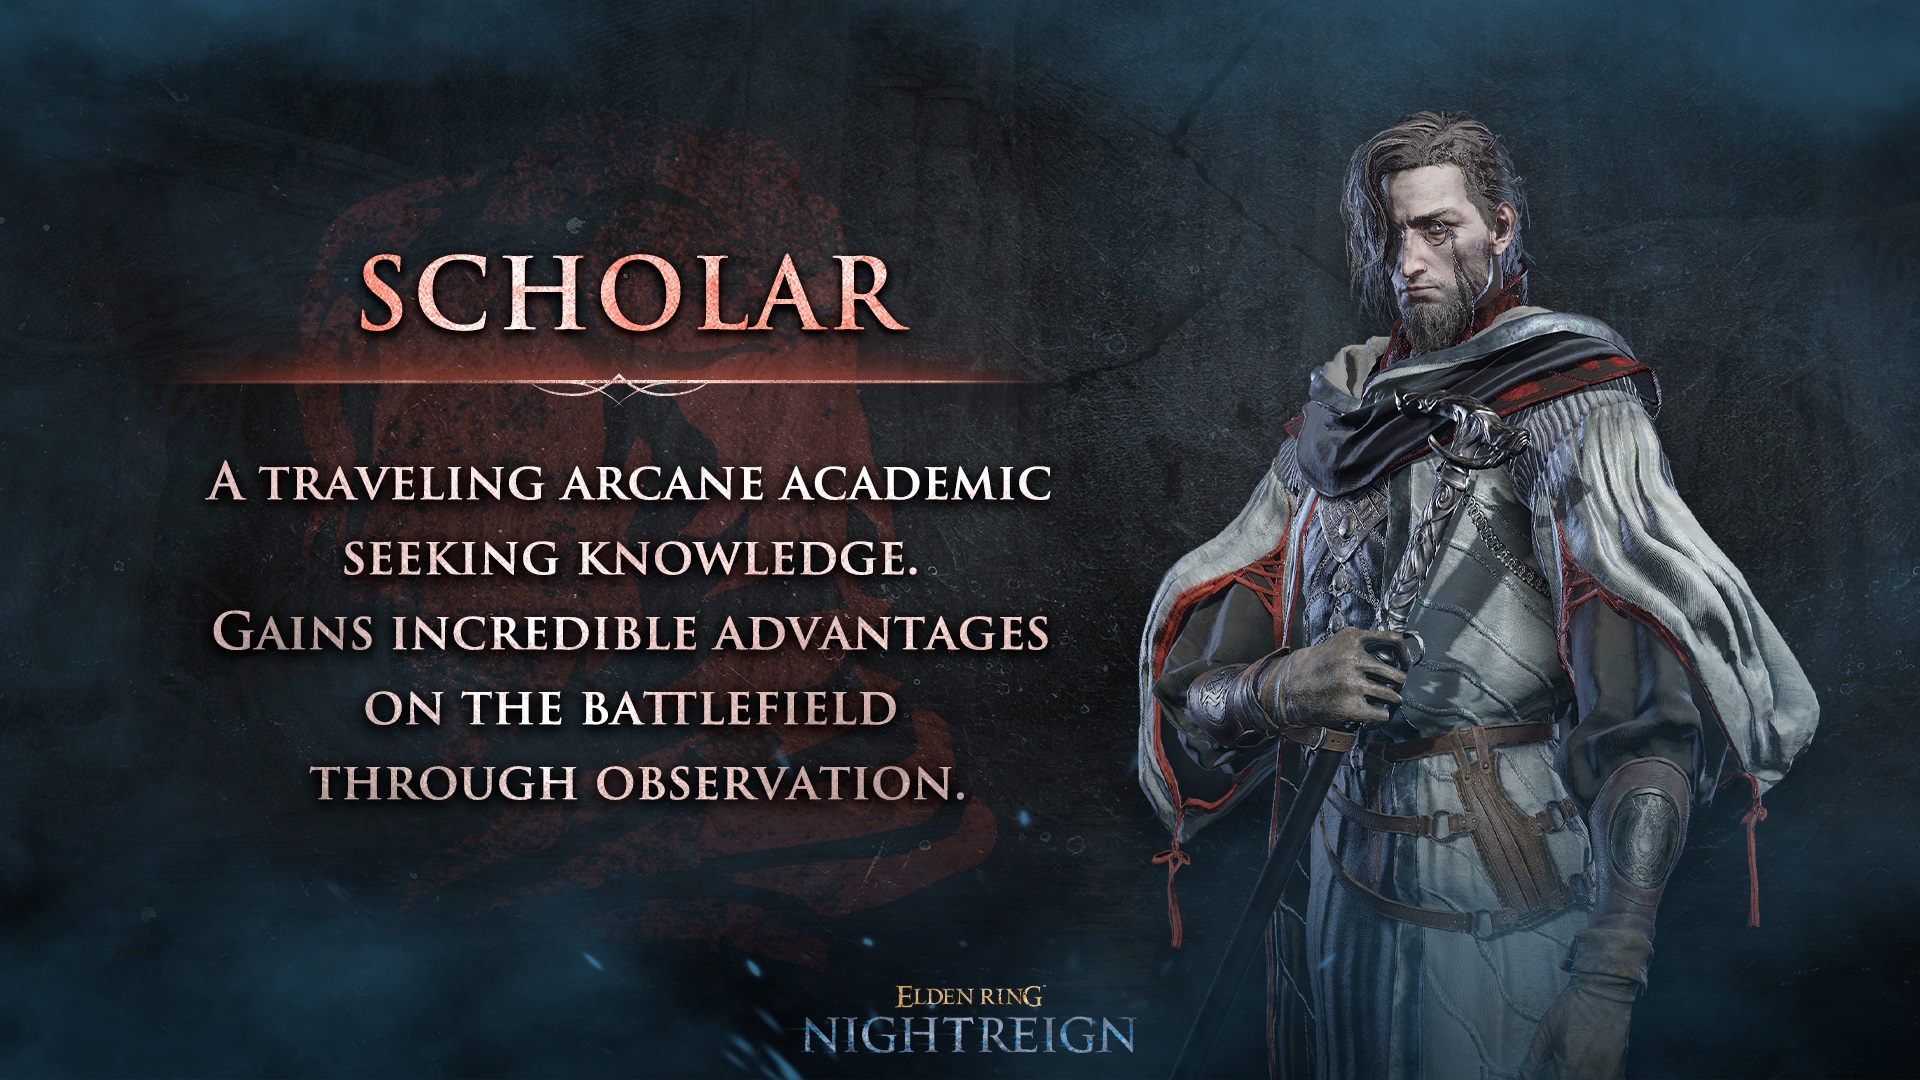
Scholar joined Nightreign with the Forsaken Hollows expansion. This high-Arcane specialist wields light swords and daggers, gaining combat advantages through battlefield observation.
Optimal Build: - Primary Weapon: Dual Antspur Rapiers (Scarlet Rot) or Dual Frozen Needles (Frostbite) - Focus: Status effect application through rapid strikes - Stats Priority: Arcane > Dexterity
Power Stance everything. Scholar's quick strikes excel at applying status effects before enemies can respond.
Undertaker (DLC): The Combo Queen
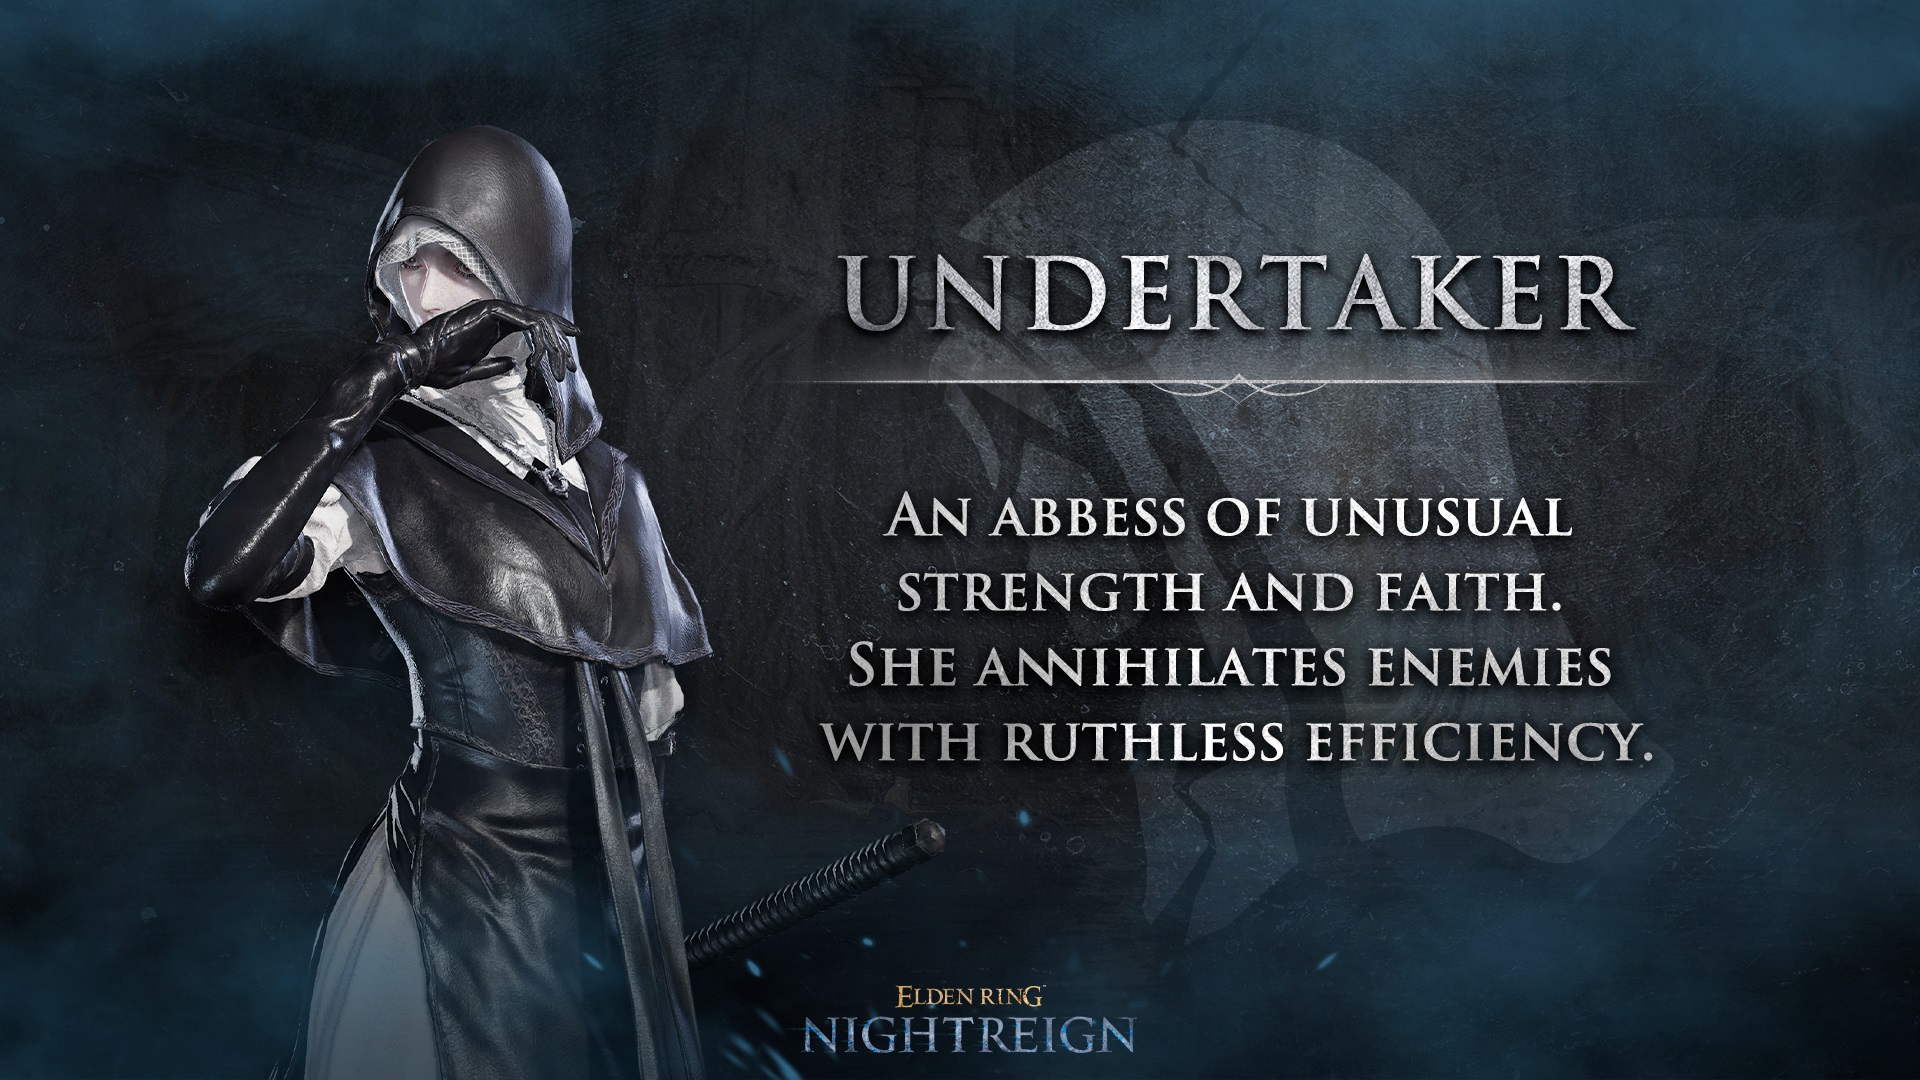
Undertaker is a Strength/Faith bruiser specializing in hammers, stagger pressure, and explosive burst damage. She's quickly become a community favorite.
Optimal Build: - Primary Weapon: Undertaker's Hammer (starter), Monk's Flamemace (upgrade) - Key Ability: Trance (removes stamina costs) - Stats Priority: Strength > Faith
Trance is absurdly strong. Zero stamina cost on movement and dodges while empowering combo damage? Yes please. Loathsome Hex gap-closer into Trance-empowered hammer combos delete anything that isn't a Nightlord.
Conquering the Nightlords
Nightlords are the ultimate test of your three-day preparation. Unlike random encounters, you choose your Nightlord at the Roundtable Hold before each expedition. Each has scripted weaknesses, exploit them or die. There are eight Nightlords in total, and mastering their patterns is essential for Deep of Night progression.
Gladius, Beast of Night: The first Nightlord most players encounter. Fire damage weakens his hardened exterior significantly. The crucial mechanic here is dodging INTO his slams rather than away, the AoE expands outward from the impact point. His charge attack has deceptive tracking, so wait for the final commitment before rolling. Drops the Knight of the Beast relic, which is exceptional for melee builds.
Maris, Fathom of Night: This aquatic terror dwells beneath frozen lakes and summons tidal magic alongside spirit beasts. Her most dangerous attack is a global Sleep spell that can wipe unprepared teams. Here's the critical counter: Lightning damage interrupts this channel. Even small amounts of Lightning will break her stance and cancel the attack entirely. Keep a Lightning-infused weapon ready specifically for this moment.
Caligo, Miasma of Night: Arguably the most punishing Nightlord for unprepared teams. She fills the battlefield with poison clouds and death blight fog that accumulate rapidly. Bring poison and death blight resistance consumables or don't bother showing up. Her fog persists throughout the fight, so positioning becomes paramount. Stay mobile and don't let the status effects stack.
Adel, Baron of Night: This vampiric nightmare combines lifesteal abilities with a blade that literally feeds on your buffs. The counter-intuitive strategy here is to minimize buff uptime, every buff you're running is healing him when he connects. Focus on raw damage output and avoid extended buff windows.
Everdark Fulghor: A lightning-wielding horror that punishes slow, defensive play. His attacks chain into each other with minimal recovery windows. Aggressive players who stay in his face actually have an easier time than those who try to create distance, his ranged lightning is far more dangerous than his melee combos.
The Scorpion Moth: A hybrid nightmare that alternates between ground-based poison attacks and aerial dive bombs. When airborne, Ironeye players shine. Ground-based melee characters need to bait the dive attacks and punish the landing recovery. Drops the Knight of the Wise relic.
Tricephalos (DLC): The Forsaken Hollows' gatekeeper boss. This three-headed monstrosity requires defeating to unlock Scholar and Undertaker. Each head has distinct attack patterns and elemental weaknesses. Coordinate your team to focus one head at a time while managing the other two's harassment.
Balancers/Salvation's Standard-Bearers (DLC): The enhanced variant added in Patch 1.03.1 for Deep of Night. These coordinated duo fights demand perfect team synergy and punish greedy damage windows severely.
Optimal Team Compositions
Nightreign's co-op nature means team synergy matters enormously. Here are compositions that consistently clear content:
The Meta Trio: Executor + Raider + Ironeye Executor handles deflection and creates openings. Raider breaks stances with heavy weapons. Ironeye maintains consistent ranged damage and handles safe revivals. This composition excels against every Nightlord.
The Status Stack: Duchess + Recluse + Any DPS Duchess and Recluse coordinate status effect application while the third player capitalizes on staggered, debuffed enemies. Requires communication but melts bosses faster than any other composition.
The Beginner-Friendly: Wylder + Guardian + Ironeye Wylder's Sixth Sense warns the team of danger. Guardian soaks damage when mistakes happen. Ironeye provides safe revival capability. This team forgives mistakes while learning the game.
The DLC Powerhouse: Undertaker + Scholar + Raider Undertaker's Trance-empowered combos combined with Scholar's status procs and Raider's stance damage creates relentless pressure that few Nightlords can withstand.
Deep of Night: The True Endgame
Once you've mastered standard expeditions, Deep of Night awaits. This ranked mode introduces Depth ratings that scale difficulty and rewards based on your performance.
The differences from standard expeditions are significant. Your target Nightlord remains hidden until the loading screen, so you can't prepare specific counters in advance. Enemies and bosses hit harder and have more health, while red "Variant" enemies deal devastating damage but drop superior weapons as compensation. Solo players will struggle here since coordination becomes absolutely mandatory.
Survival in Deep of Night requires smart preparation. Build well-rounded Relic loadouts that work against any Nightlord rather than specializing. Keep your team together because splitting up is a death sentence, and proper routing as a group is essential. Castle areas remain your best bet for reaching level 14-15 consistently. Be careful with red weapons though, as their powerful negatives can sometimes outweigh the benefits.
Relic Optimization
Relics define your build's ceiling. Here are the must-haves:
S-Tier Universal: - Partial HP Recovery on Post-Damage Attacks: Bloodborne's rally mechanic in Elden Ring. Aggressive trading becomes viable. - Cooldown Reduction: Essential for skill-dependent characters like Ironeye and Duchess. - Vigor Relics: More HP means more flask healing (60% of max HP per use).
Class-Specific: - Knight of the Beast (Gladius drop): Stamina restoration on attacks + fire damage. Melee builds become infinite. - Knight of the Wise (Scorpion Moth drop): FP boost + poison synergy. Perfect for hybrid builds. - Edge of Order (Ironeye): Holy damage + bow attack boost. Turns Ironeye into easy mode.
Relics come in Delicate (1 passive), Polished (2 passives), and Grand (3 passives) variants. Always chase Grand versions of relics that synergize with your build.
Beginner Survival Guide
Your first priority is escaping level 1 immediately. The power difference between level 1 and 2 is massive, and you literally cannot kill anything stronger than the weakest enemies at level 1. Clear the easy mobs near your spawn point first.
Next, prioritize churches and tunnels. Churches grant extra flask charges while tunnels provide Smithing Stones for weapon upgrades. Try to hit both on day one if your route allows it.
Unlike base Elden Ring, hoarding runes in Nightreign is suicide. One ambush loses everything you've saved. Spend aggressively on levels, flasks, and backup equipment whenever you can.
For level thresholds, aim for at least level 5 before the day 1 boss, level 10 before day 2, and level 14 or higher before facing the Nightlord. Falling short of these benchmarks makes fights significantly harder than they need to be.
Reviving teammates works differently here. Attack your downed allies until their near-death gauge depletes. The outer circle represents their death timer while the inner circle shows revival progress. Ironeye excels at safe revivals from range since his arrows can chip away at the gauge without putting himself in danger.
Patch 1.03.1 Changes (January 2026)
The latest hotfix brought several important adjustments:
- Added Salvation's Standard-Bearers (enhanced Balancers variant) as Deep of Night targets for DLC owners
- Increased Relic rewards from Forsaken Hollows DLC boss victories
- Adjusted progression when expedition depth differs from player depth by more than two levels
- Known bug: Some Scholar and Undertaker costumes plus unique one-time Relics may disappear (fix incoming)
Final Thoughts
Elden Ring Nightreign represents FromSoftware at their most experimental, and it works beautifully. The roguelike structure adds replayability that the base game couldn't match, while the co-op focus creates moments of genuine teamwork and clutch saves that'll have you screaming at your screen.
Whether you're a Wylder main cruising through expeditions or a Recluse masochist chasing perfect spell combinations, there's a playstyle here for every type of Souls fan. The Forsaken Hollows DLC only adds more depth, and with the playerbase still averaging 76,000+ daily players, matchmaking remains healthy across all platforms, with the Elden Ring Switch 2 Edition potentially expanding the player base further.
Now get out there and show those Nightlords what a true Tarnished can do. May grace guide you, and may your teammates actually know how to revive.
Quick Reference: Nightfarer Tier List
| Tier | Nightfarers |
| S+ | Wylder |
| S | Ironeye, Duchess |
| A | Executor, Recluse, Raider, Undertaker |
| B | Guardian, Revenant, Scholar |
Game Information
| Title | Elden Ring Nightreign |
| Developer | FromSoftware |
| Publisher | Bandai Namco Entertainment |
| Release Date | May 30, 2025 |
| Platforms | PS4, PS5, Xbox One, Xbox Series X |
| Genre | Action RPG, Roguelike, Co-op |
| Current Version | 1.03.1 |
| DLC | The Forsaken Hollows (December 4, 2025) |
| Peak Players | 313,593 (Steam launch) |
| Price | $39.99 (Base), $14.99 (DLC) |
Gallery
Get Gaming News and Features First
Stay updated with the latest gaming news and exclusive content.