POE2 Warrior Best Builds Guide: Crush Everything with the Slam King
Complete POE2 Warrior build guide for Patch 0.4. Titan, Warbringer, Smith of Kitava ascendancies, Shield Wall meta builds, and Hardcore SSF tips.
Introduction
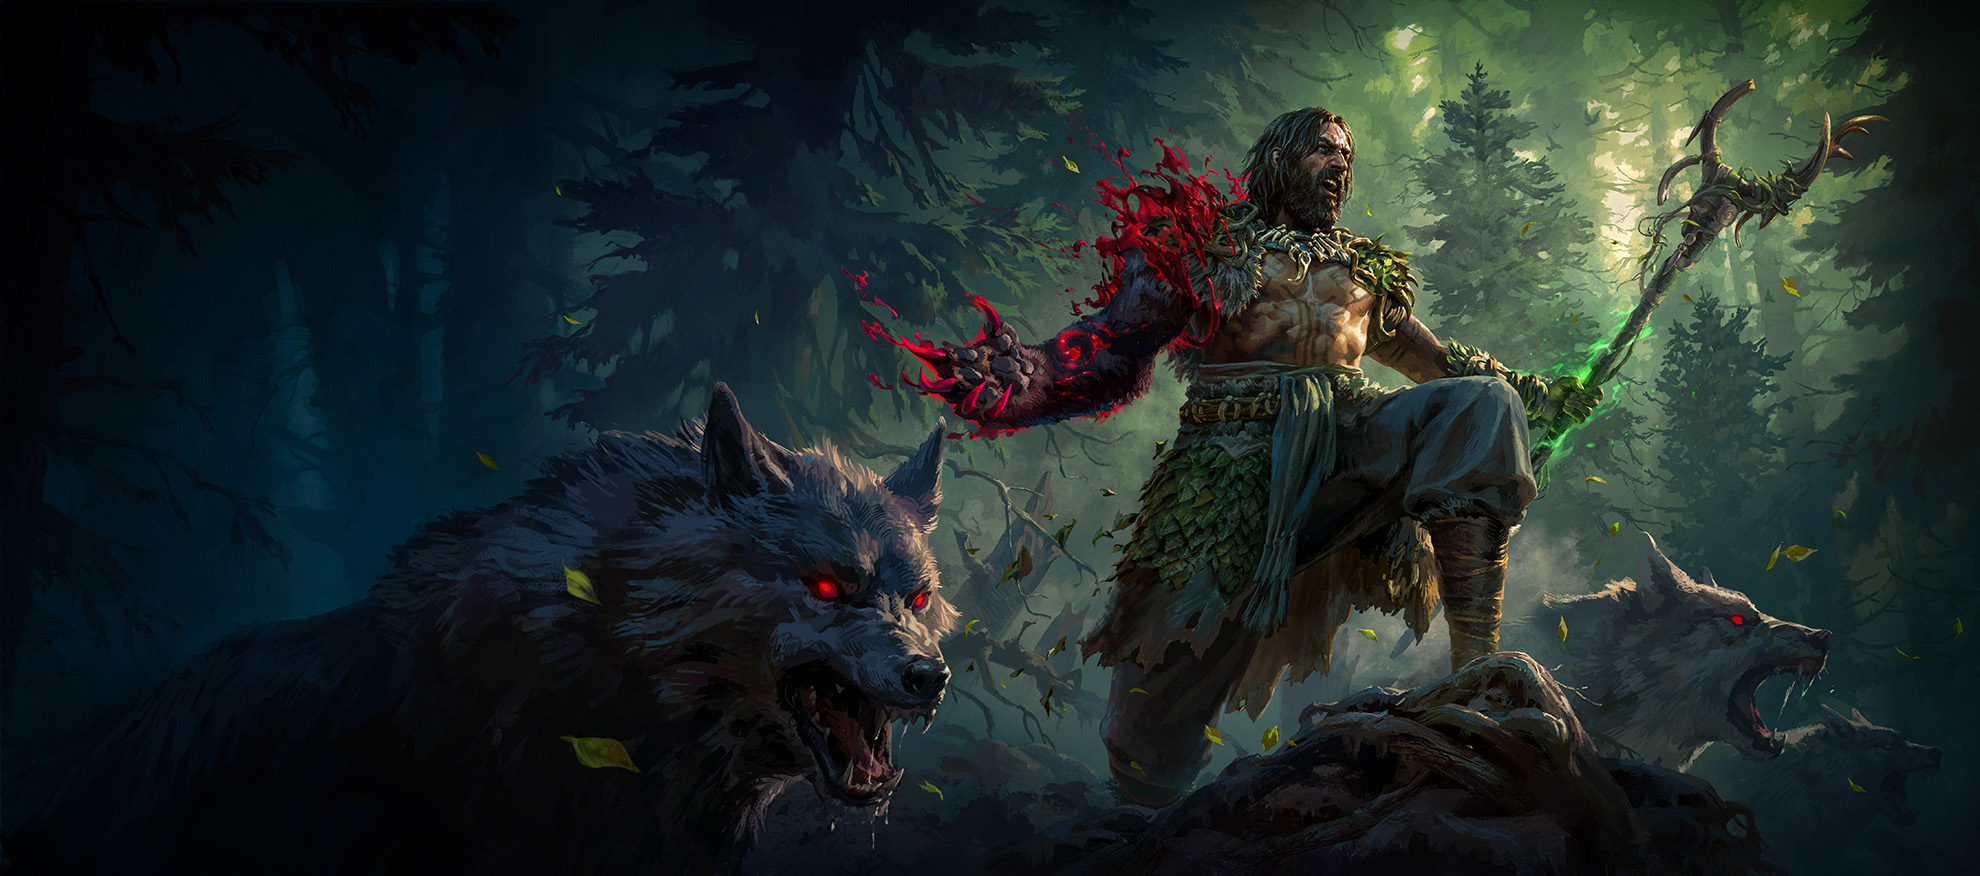
The Warrior stands as Path of Exile 2's ultimate expression of raw physical power, a pure Strength class that transforms maces, shields, and earth-shaking slams into instruments of absolute devastation. ARPG fans looking for similar depth can also check out the Diablo IV Season 11 build guide. Where other classes dart around enemies or cast spells from afar, the Warrior plants both feet firmly on the ground and delivers blows so powerful they literally crack the earth beneath them.
With the release of Patch 0.4 (The Last of the Druids), the Warrior has emerged as one of the tankiest and most reliable classes in the game. Whether you want to stun-lock bosses into oblivion, command ancestral totems from safety, or forge custom armor that laughs at elemental damage, the Warrior delivers a playstyle that rewards patience, positioning, and perfectly timed devastation.
Understanding the Warrior's Arsenal
Mace Mechanics
Maces serve as the Warrior's signature weapons, offering 20 active skills that range from sweeping area attacks to concentrated single-target devastation. The weapon choice fundamentally shapes your playstyle:
Two-handed maces deliver the slowest attacks but the highest damage per hit, with massive stun buildup that can lock enemies in place. One-handed maces paired with shields sacrifice some damage for exceptional survivability through innate block chance and armor scaling. For those seeking the middle ground, the Giant's Blood keystone in the passive tree allows dual-wielding two-handed weapons, yes, you can swing two massive maces simultaneously.
Shield Mechanics
Shields in Path of Exile 2 offer both passive and active defensive benefits. Simply equipping a shield grants automatic block chance against incoming attacks. However, you can also actively hold up your shield to block all front-facing blockable hits, a crucial survival technique during boss encounters.
Shield-specific skills transform defense into offense:
Shield Charge lets you ram into enemies while maintaining full frontal damage immunity. Shield Wall creates a semi-circular earth barrier that can be detonated for massive damage. Resonating Shield strikes your shield repeatedly, sending damaging shockwaves that strip enemy armor while keeping your guard up.
The Slam Rotation

The core Warrior damage rotation revolves around slam skills that prime enemies for devastating follow-ups:
Rolling Slam initiates combat by slamming the ground, knocking enemies back, then delivering a second stronger blow. This primes enemies for stun. Boneshatter follows up on stunned enemies, triggering a 250% base area shockwave that annihilates everything nearby. This Rolling Slam into Boneshatter combo forms the foundation of nearly every Warrior build.
Advanced players learn to animation-cancel Rolling Slam with Boneshatter, allowing it to function as a regular slam rather than a travel skill, dramatically increasing damage output.
Rage and Warcry System
Rage fuels the Warrior's most powerful abilities. You can stack up to 30 Rage by default, granting up to 30% more damage at maximum stacks. Skills like Furious Slam spend Rage for enhanced effects, while various passives and support gems provide Rage generation on melee hits.
Warcries synergize perfectly with the Rage system. Rather than waiting for cooldowns, Warriors can spend Rage to bypass warcry cooldowns entirely, enabling constant buff uptime:
Seismic Cry deals physical damage, knocks enemies back, and increases stun buildup. Infernal Cry adds fire damage to your next attacks. Fortifying Cry empowers shield-based damage and can detonate Shield Wall for massive explosions.
The optimal rotation cycles Infernal Cry to generate Rage, then Seismic Cry to consume it, creating infinite warcry loops during boss encounters.
The Three Ascendancies
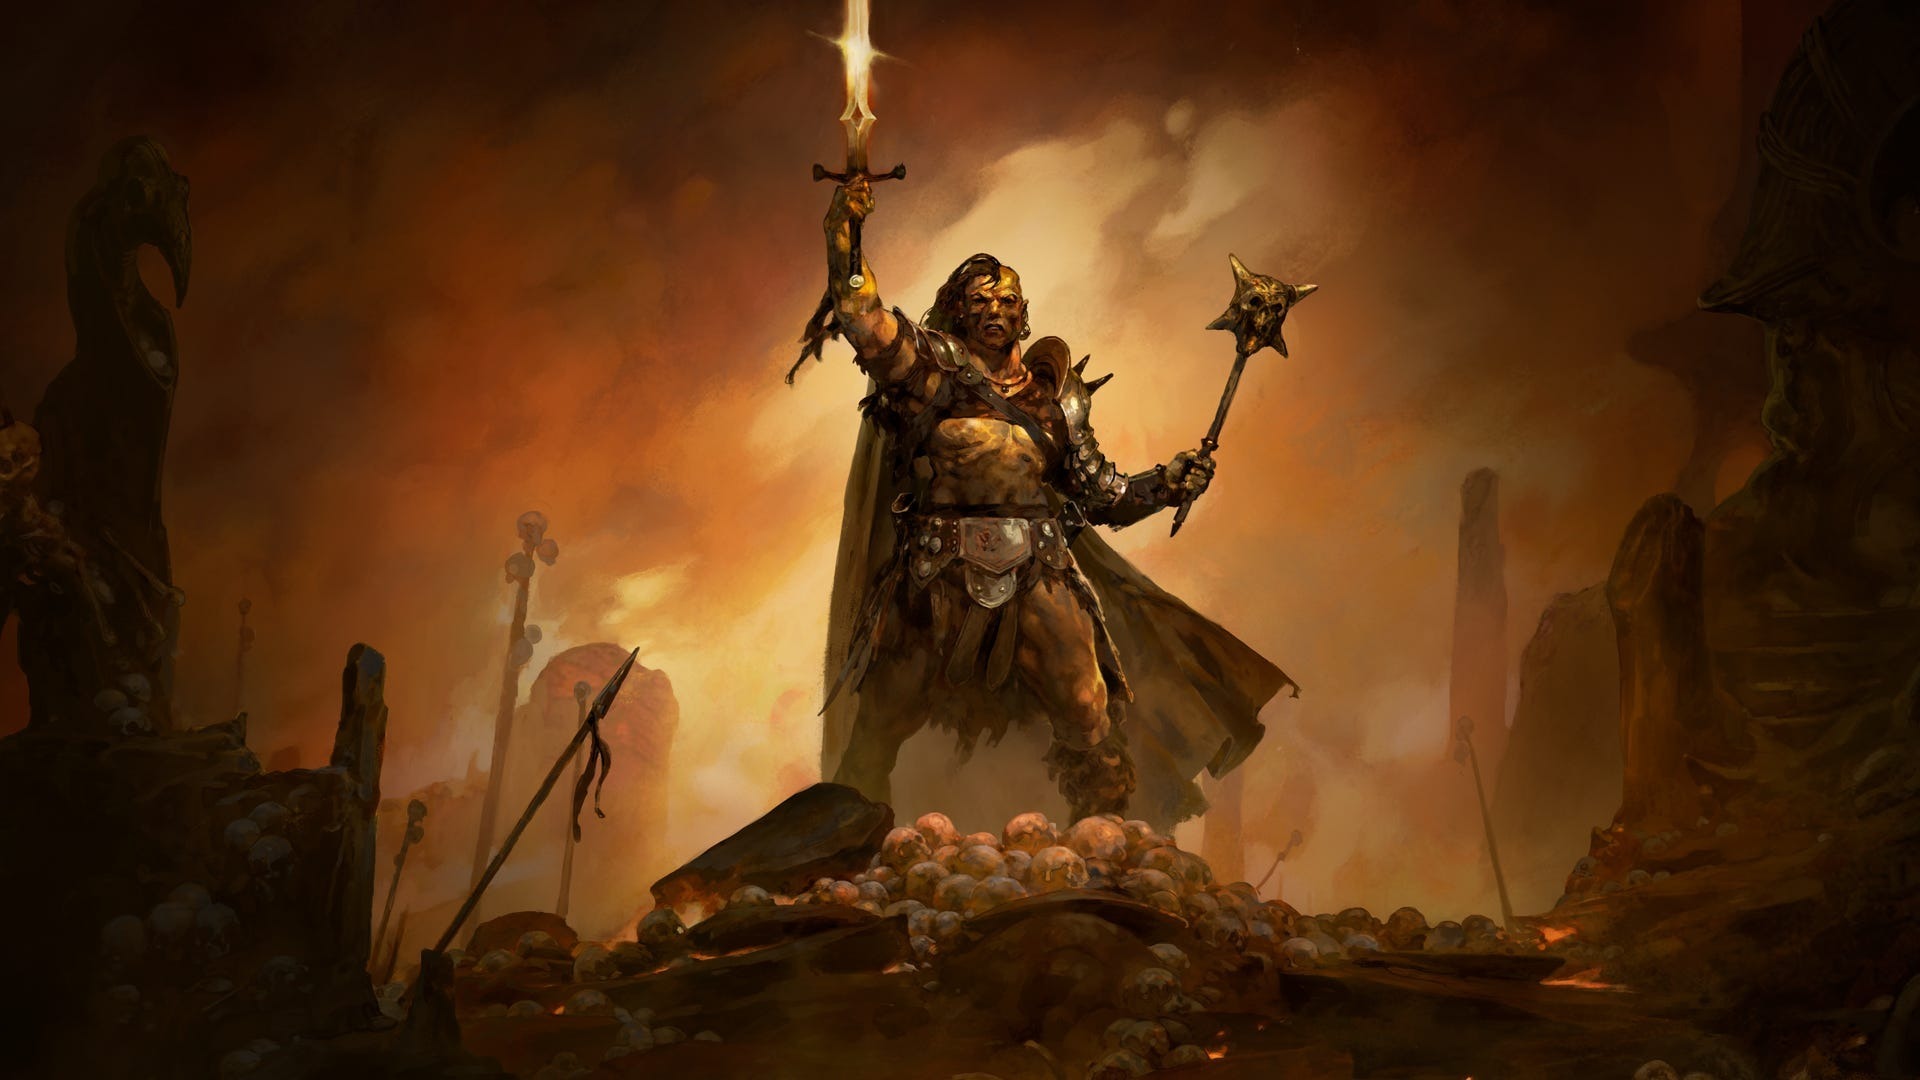
Titan: The Boss Slayer
The Titan specializes in slow, deliberate attacks that hit like freight trains. Rated S-Tier in Patch 0.4 and holding a 5-star rating for Solo Self-Found Hardcore, Titan represents the safest and most powerful choice for both new and experienced players.
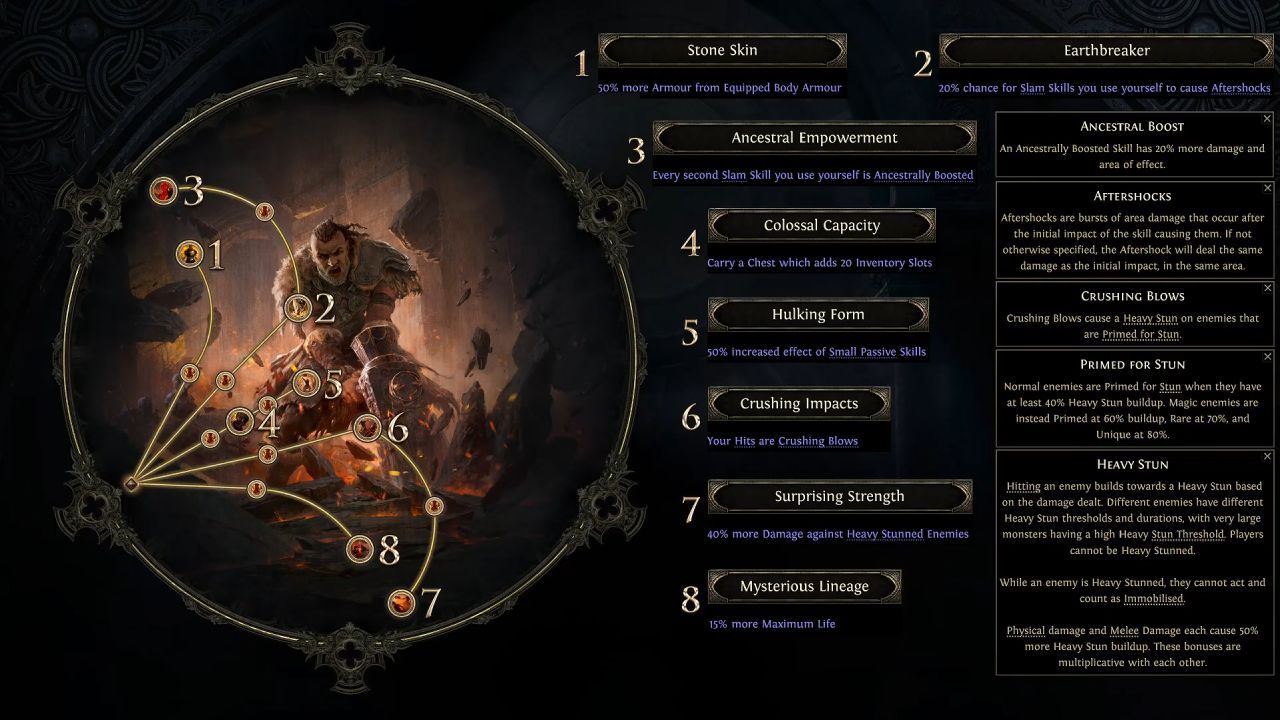
Key Nodes: - Ancestral Empowerment makes every second Slam Skill ancestrally boosted, increasing both damage and area of effect - Hulking Form multiplies all small passive skill effects by 50%, an absolutely massive multiplier that makes every passive point count more - Crushing Impacts transforms your hits into Crushing Blows that deal more damage to heavily stunned enemies - Earthbreaker grants a 25% chance for Slam Skills to cause Aftershocks, adding hit density for both offense and defense
Titan excels at fighting bosses and tough elites through deliberate positioning and stun-based crowd control. The straightforward mechanics make it ideal for newcomers while the scaling ceiling remains high enough for endgame content.
Warbringer: The Defensive Totem Master
The Warbringer combines melee combat with totem placement and warcries for the safest playstyle in the Warrior arsenal. This ascendancy thrives in prolonged engagements by using totems as both damage dealers and aggro-drawing shields.
Key Nodes: - Answered Call grants +1 Maximum Summoned Totems and spawns Ancestral Spirit minions that fight alongside you - Warcaller's Bellow removes all warcry cooldowns and causes nearby corpses to explode when you use warcries - Wooden Wall redirects 20% of damage taken to nearby totems, providing pseudo-mitigation
The Warbringer can achieve 75% maximum block chance, the highest of any ascendancy in the current patch, through the combination of Renly's Training and Turtle Charm.
Smith of Kitava: The Adaptive Crafter
The Smith of Kitava represents the most flexible but complex path. This ascendancy forges custom armor and weapon enchantments that adapt to any content.
Smith's Masterwork allows you to convert Normal Body Armor into custom pieces by selecting powerful modifiers: +5% Maximum Fire Resistance, +15% Maximum Life, +20% Strength, +75% to specific Elemental Resistance caps, -50% Critical Damage Taken, Immunity to Ignite, and more.
Temper Weapon triggers fiery explosions on every attack with 25% more damage per hit. Manifest Weapon summons an animated copy of your weapon that fights alongside you, essentially doubling your damage output.
The trade-off: you're locked into Normal grade armor, affecting physical defense. However, the unparalleled customization makes Smith of Kitava incredibly adaptable for varied content.
Top Meta Builds
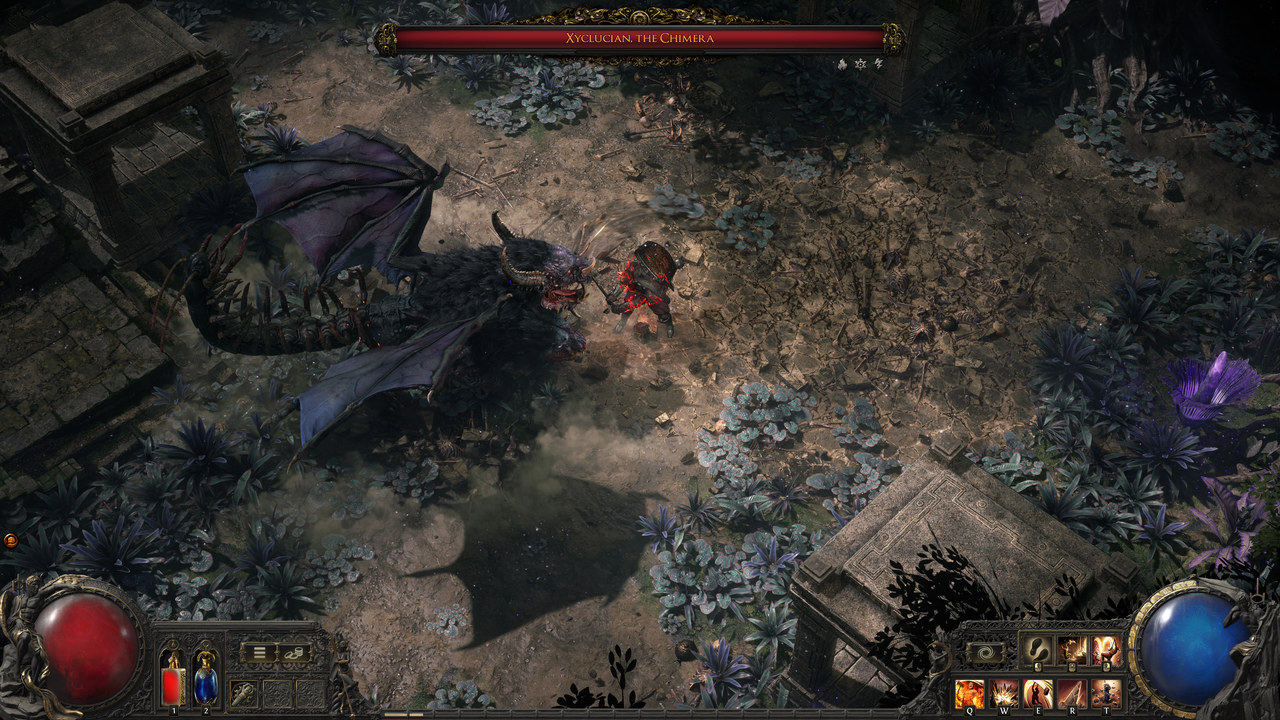
Shield Wall Titan (S-Tier)
The Shield Wall Titan received massive buffs in Patch 0.4, making it the premier Warrior build for both softcore and hardcore. The strategy stacks debuffs, endurance charges, and critical hits before detonating Shield Wall for astronomical single-target damage.
Core Loop: Build endurance charges through combat, place Shield Wall, stack debuffs on the boss, then detonate with Fortifying Cry for massive burst. Use Resonating Shield for map clearing between boss encounters.
Hammer of the Gods Ignite Titan
The most popular tankier option focuses on consistent damage through ignite while leveraging Titan's passive bonuses for endurance. Hammer of the Gods serves as your primary damage dealer, empowered by warcries for devastating ignite stacks.
Sunder Totem Titan
This build exploits snapshot mechanics by dropping Ancestral Warrior Totems that use your slam skills, then swapping to one-hander plus shield for maximum survivability. Your totems continue dealing full damage while you maintain defensive positioning.
Woolie's Firebringer Warbringer
With 1.5K favorites on build aggregators, this fire-focused Warbringer combines Infernal Cry with the Warcaller's Bellow corpse explosions for screen-wide destruction. Updated for Patch 0.4 with proven endgame viability.
Shield Wall Warbringer (Maximum Block)
For players wanting absolute safety, the Shield Wall Warbringer achieves 75% block chance while still dealing respectable damage. Wooden Wall redirects remaining damage to totems, creating a nearly unkillable character.
Hardcore Mode Survival Guide
Why Titan Dominates Hardcore
Titan holds a 5-star rating for SSF Hardcore because of its natural defensive synergies:
Hulking Form multiplies all minor passive bonuses, including life and armor nodes. Mysterious Lineage grants 15% more maximum life, scaling with every +Maximum Life modifier on your gear. Stone Skin doubles armor from your body armor, dramatically boosting physical damage mitigation.
Defensive Layering
Hardcore success requires multiple defensive layers:
Armor reduces physical damage based on the formula: Damage Reduction = Armor/(Armor + 12 * Damage). You need armor equal to 6x the incoming damage to prevent 33% of it, or 12x to prevent 50%.
Block provides binary damage prevention up to 50% by default (75% for Warbringer). Fortify provides less damage taken calculated after armor, resistances, and endurance charges.
Hardcore Leveling Strategy
Master the Rolling Slam into Boneshatter animation cancel early. Hit enemies once with Rolling Slam to prime stun, then cancel into Boneshatter for the finishing AoE.
Prioritize life nodes before damage scaling. Gear up completely before boss encounters, never fight major bosses undergeared. Update body armor frequently in early acts.
Target modifiers: Movement speed on boots (highest priority), maximum life on every slot, elemental resistances capped at 75%, and strength for natural life scaling.
Leveling Progression
Acts 1-2: - Start with Rolling Slam as your primary attack - Add Boneshatter once available and practice the combo timing - Focus on survival and learning slam mechanics - Unabating support provides bonus armor, while Unyielding recoups damage taken as life
Acts 3-4: - Introduce warcries to empower your slams - Choose your first Ascendancy points. Titan's Hulking Form or Warbringer's Answered Call provide immediate power spikes - Begin experimenting with Shield Wall if using one-hander plus shield setup
Endgame Transition: - Complete remaining Ascendancy trials for full passive tree - Specialize into Shield Wall for bossing or maintain Slam focus for mapping - For Titan, grab Crushing Impacts and Earthbreaker - For Warbringer, prioritize Warcaller's Bellow for infinite warcry uptime
Conclusion
The Warrior offers the most straightforward path to endgame mastery for players who prefer methodical, devastating combat over frantic button-mashing. Whether you choose the boss-crushing Titan, the safe totem-commanding Warbringer, or the adaptable Smith of Kitava, you'll find a playstyle that rewards proper positioning, defensive layering, and perfectly timed devastation.
For newcomers, start with Titan's Shield Wall build, its 5-star Hardcore rating speaks to both survivability and accessibility. Veterans seeking maximum safety should explore Warbringer's 75% block potential. Those willing to theory-craft can unlock Smith of Kitava's unparalleled customization for any content.
Remember: the Warrior doesn't dodge or run. Plant your feet, raise your mace, and let the earth itself become your weapon. For other action RPG experiences, check out CODE VEIN II for Soulslike vampire combat or Zenless Zone Zero for stylish action with gacha elements.
Gallery
Get Gaming News and Features First
Stay updated with the latest gaming news and exclusive content.