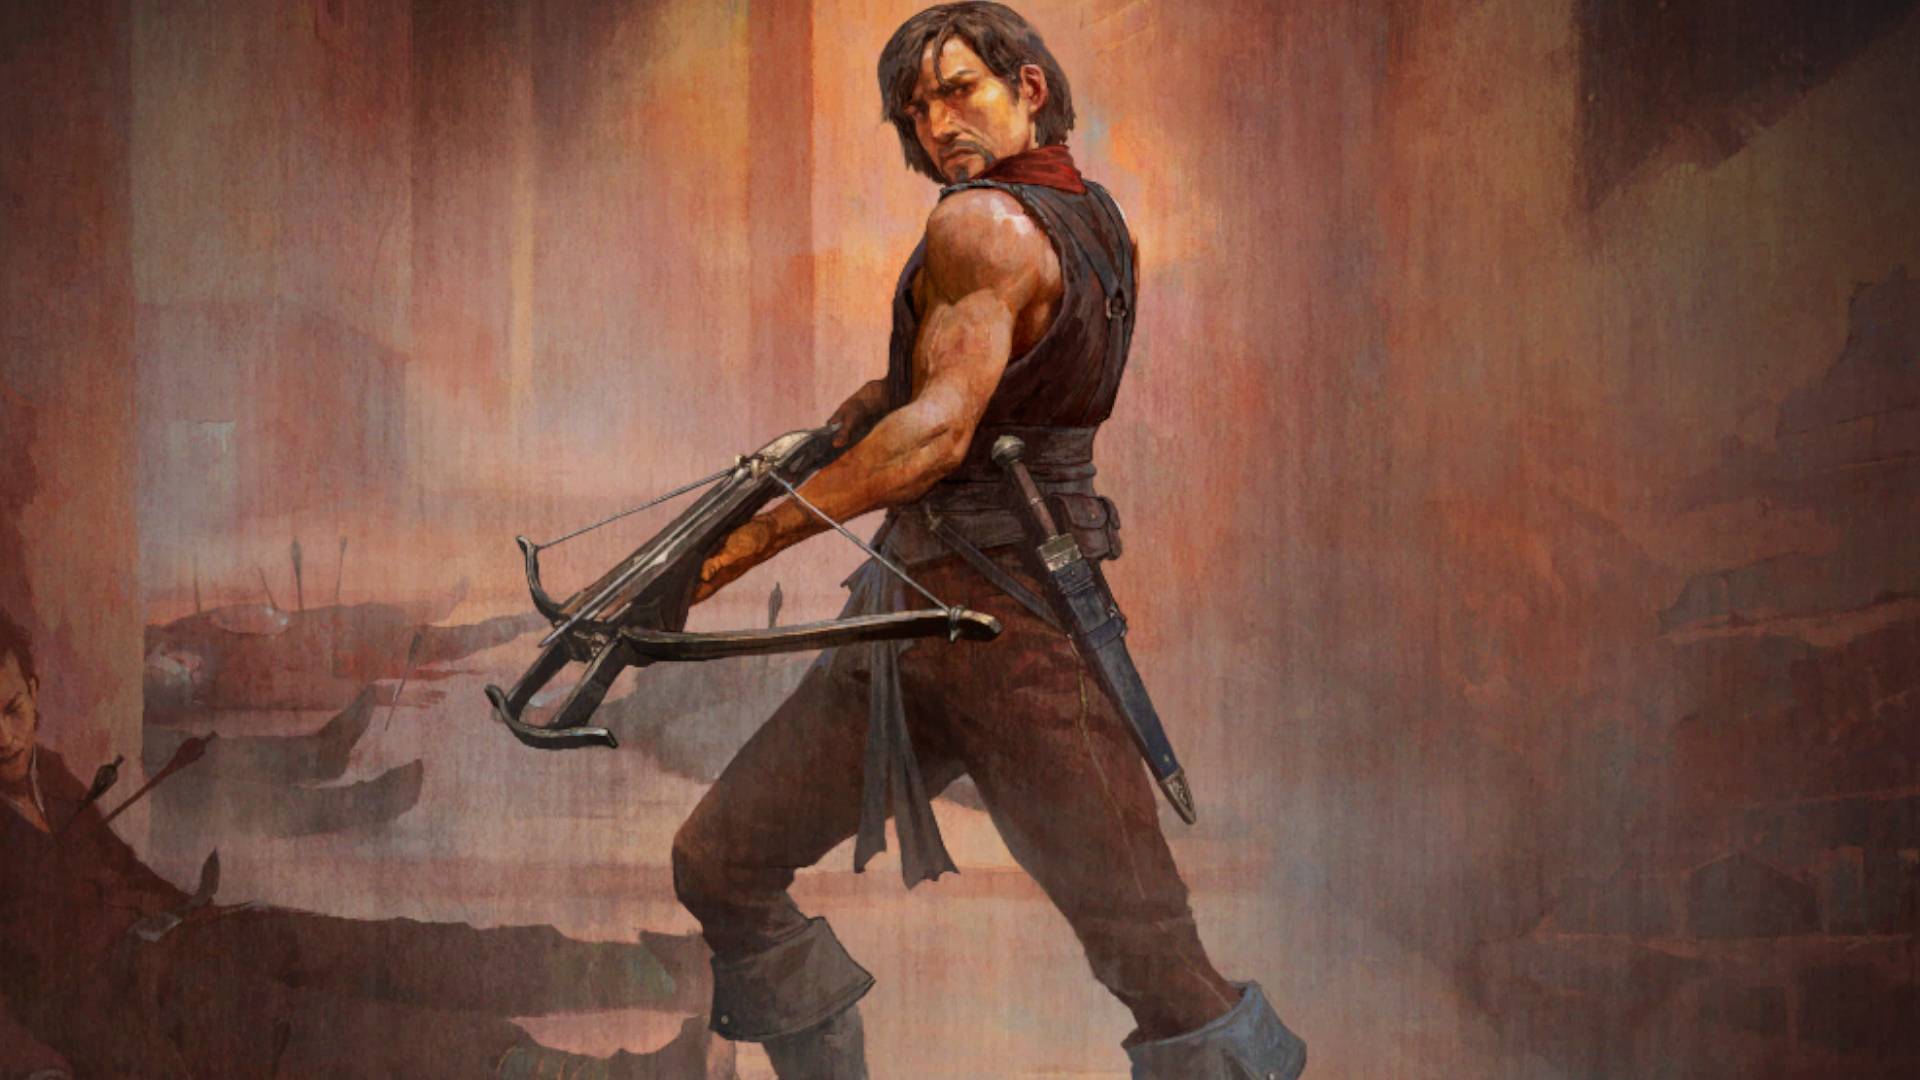
POE2 Monk Build Guide 2026: Best Builds, Ascendancies & Hardcore Tips
POE2 Monk build guide with best builds for Path of Exile 2. Ascendancy tier list, hardcore survival tips, and optimal skill setups for Monk class.
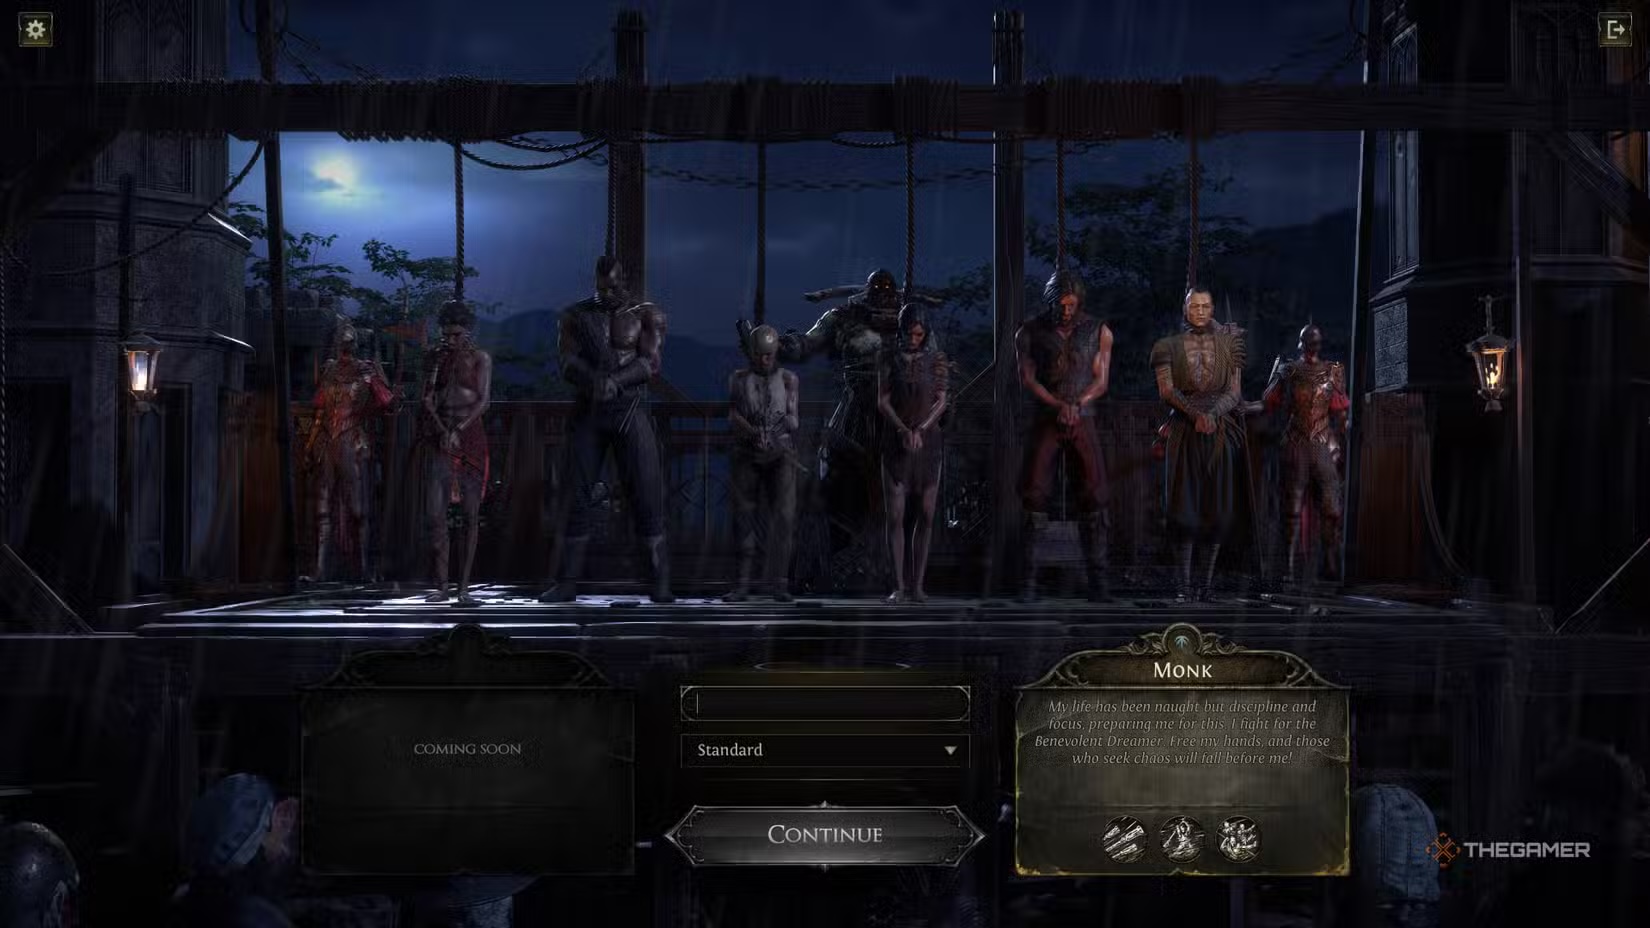
Monk Class Overview
The Monk occupies the Intelligence/Dexterity hybrid position on the passive tree, sitting between the Witch and Ranger starting areas. This positioning grants natural access to energy shield, evasion, critical strike, and elemental damage nodes without heavy travel investment.
Quarterstaves serve as the signature weapon type, offering excellent base damage and unique interactions with Monk-specific skills. However, several meta builds abandon weapons entirely through the Hollow Palm technique, converting the lack of gloves into massive unarmed damage bonuses.
Strengths
- Exceptional clear speed through mobility skills like Flicker Strike and Falling Thunder
- Power Charge mechanics enable massive damage spikes on demand
- Hybrid defensive options through evasion and energy shield
- Strong league starter potential with Hollow Palm requiring minimal gear
- Both ascendancies remain competitively viable in current meta
Weaknesses
- Requires active Power Charge management during extended fights
- Mobility skills can teleport into dangerous situations if used carelessly
- Lower base life pool compared to Strength-based classes
- Some builds demand specific unique items for full potential
- Learning curve for optimizing combo rotations
Starting Attributes
The Monk begins with 14 Strength, 14 Dexterity, and 32 Intelligence. This distribution favors energy shield gear and spell-adjacent scaling early, though most builds eventually balance toward Dexterity for attack speed and evasion.
The Two Ascendancies Explained
Invoker (Recommended for Most Players)
Invoker transforms the Monk into an elemental martial artist, channeling lightning, ice, and wind through devastating attack combinations. This ascendancy provides the smoothest leveling-to-endgame transition and currently dominates community tier lists for both clear speed and boss damage.
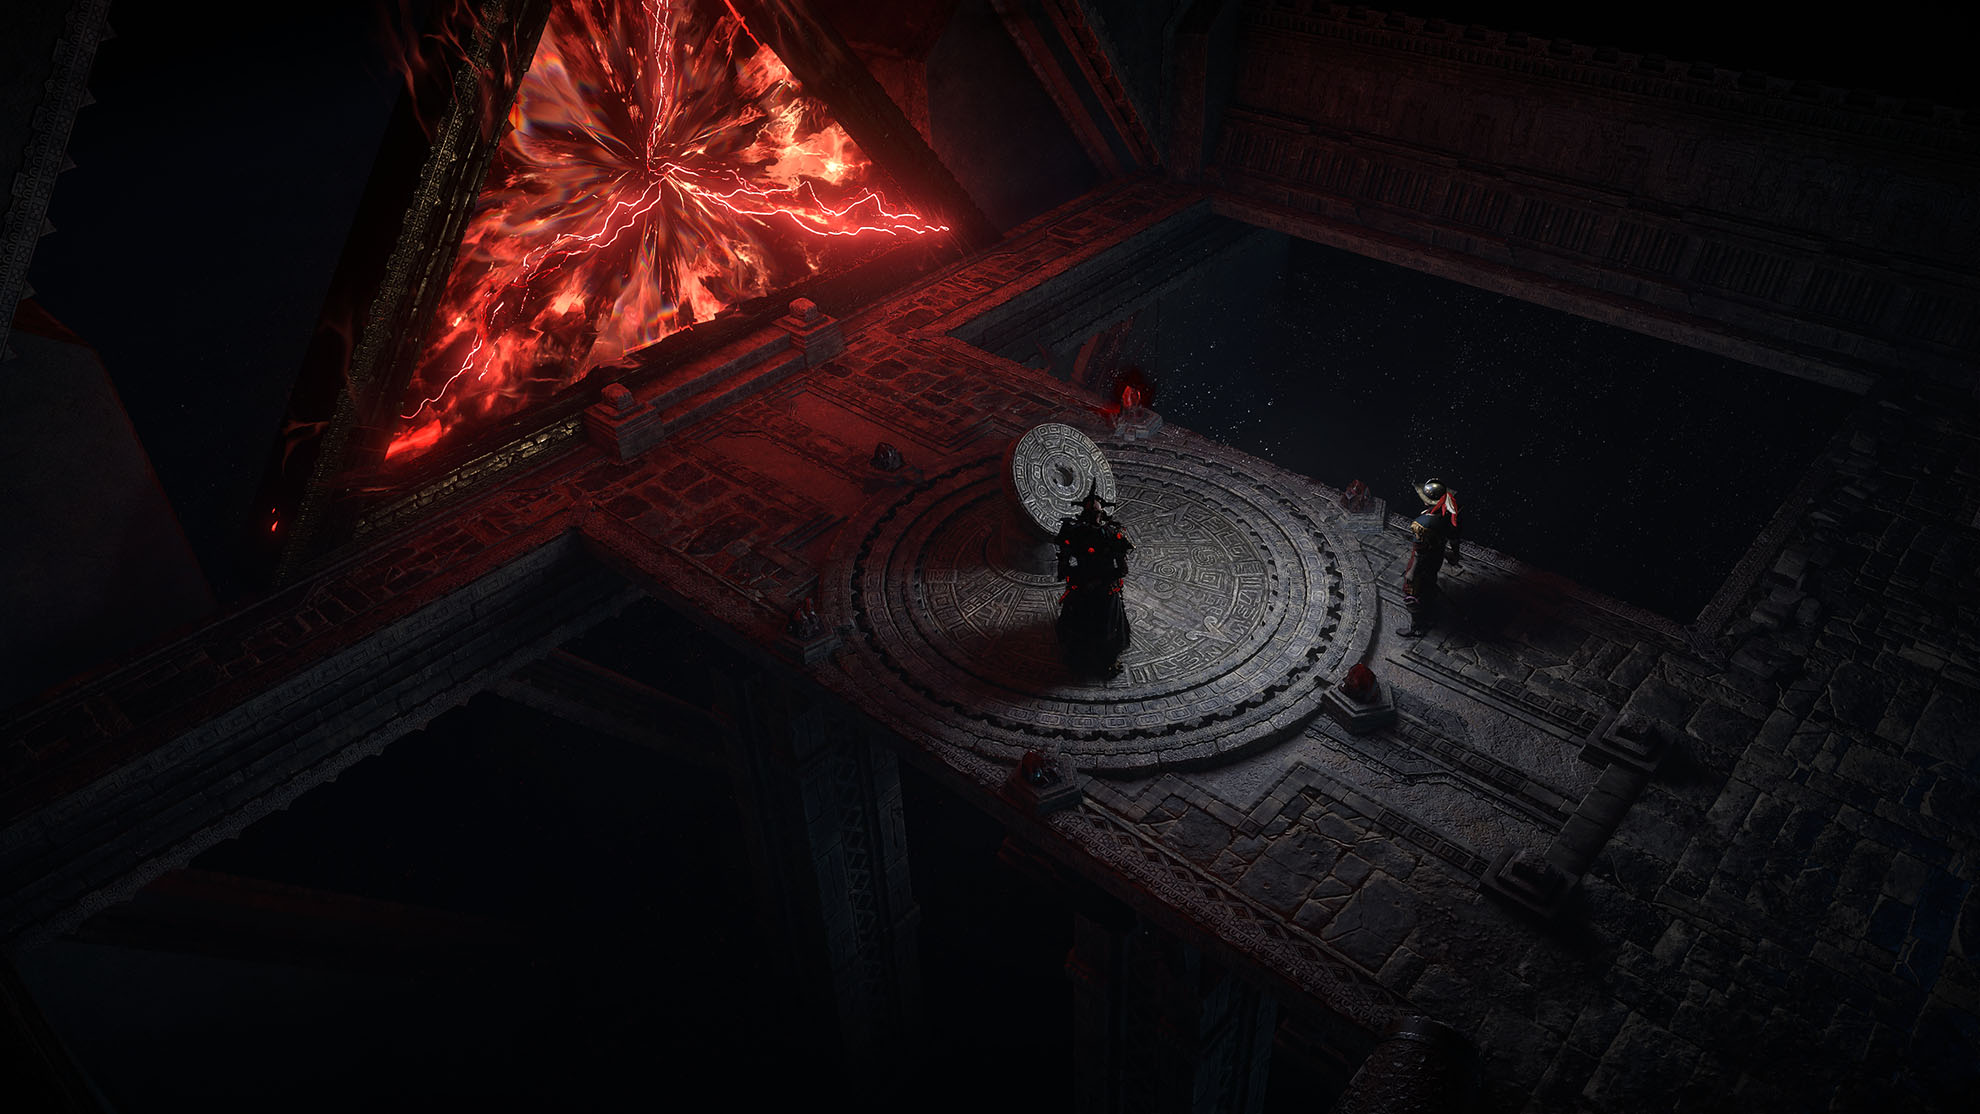
Core mechanics revolve around three elemental keystones that fundamentally alter your attacks:
I am the Thunder infuses all attacks with lightning damage and grants innate shock application. Shocked enemies take increased damage from all sources, creating a multiplicative damage boost that scales with your shock effect. This keystone alone transforms mediocre builds into map-clearing machines.
I am the Blizzard adds cold damage to attacks and enables freeze on critical strikes. Frozen enemies cannot act, providing the single strongest defensive layer available to any Monk build. Investment in freeze effect and critical strike chance makes this keystone increasingly powerful as gear improves.
I am the Storm harnesses wind manipulation for movement speed bonuses and additional projectile effects. This keystone synergizes particularly well with Storm Wave builds that fire multiple projectiles.
Invoker's Fury serves as the capstone node, dramatically increasing elemental damage when rapidly alternating between different elemental attacks. Master players weave lightning, cold, and wind skills together for sustained damage bonuses that eclipse single-element builds.
Additional notable nodes include Elemental Mastery for penetration, Storm's Eye for critical multiplier, and Tempest Form for attack speed during elemental skill use.
Acolyte of Chayula (Defensive Alternative)
Acolyte of Chayula embraces chaos and void damage, trading the Invoker's elemental versatility for defensive layering and consistent chaos-based offense. This ascendancy suits players who prefer survivability over raw damage output, particularly in hardcore leagues where one death ends your character.
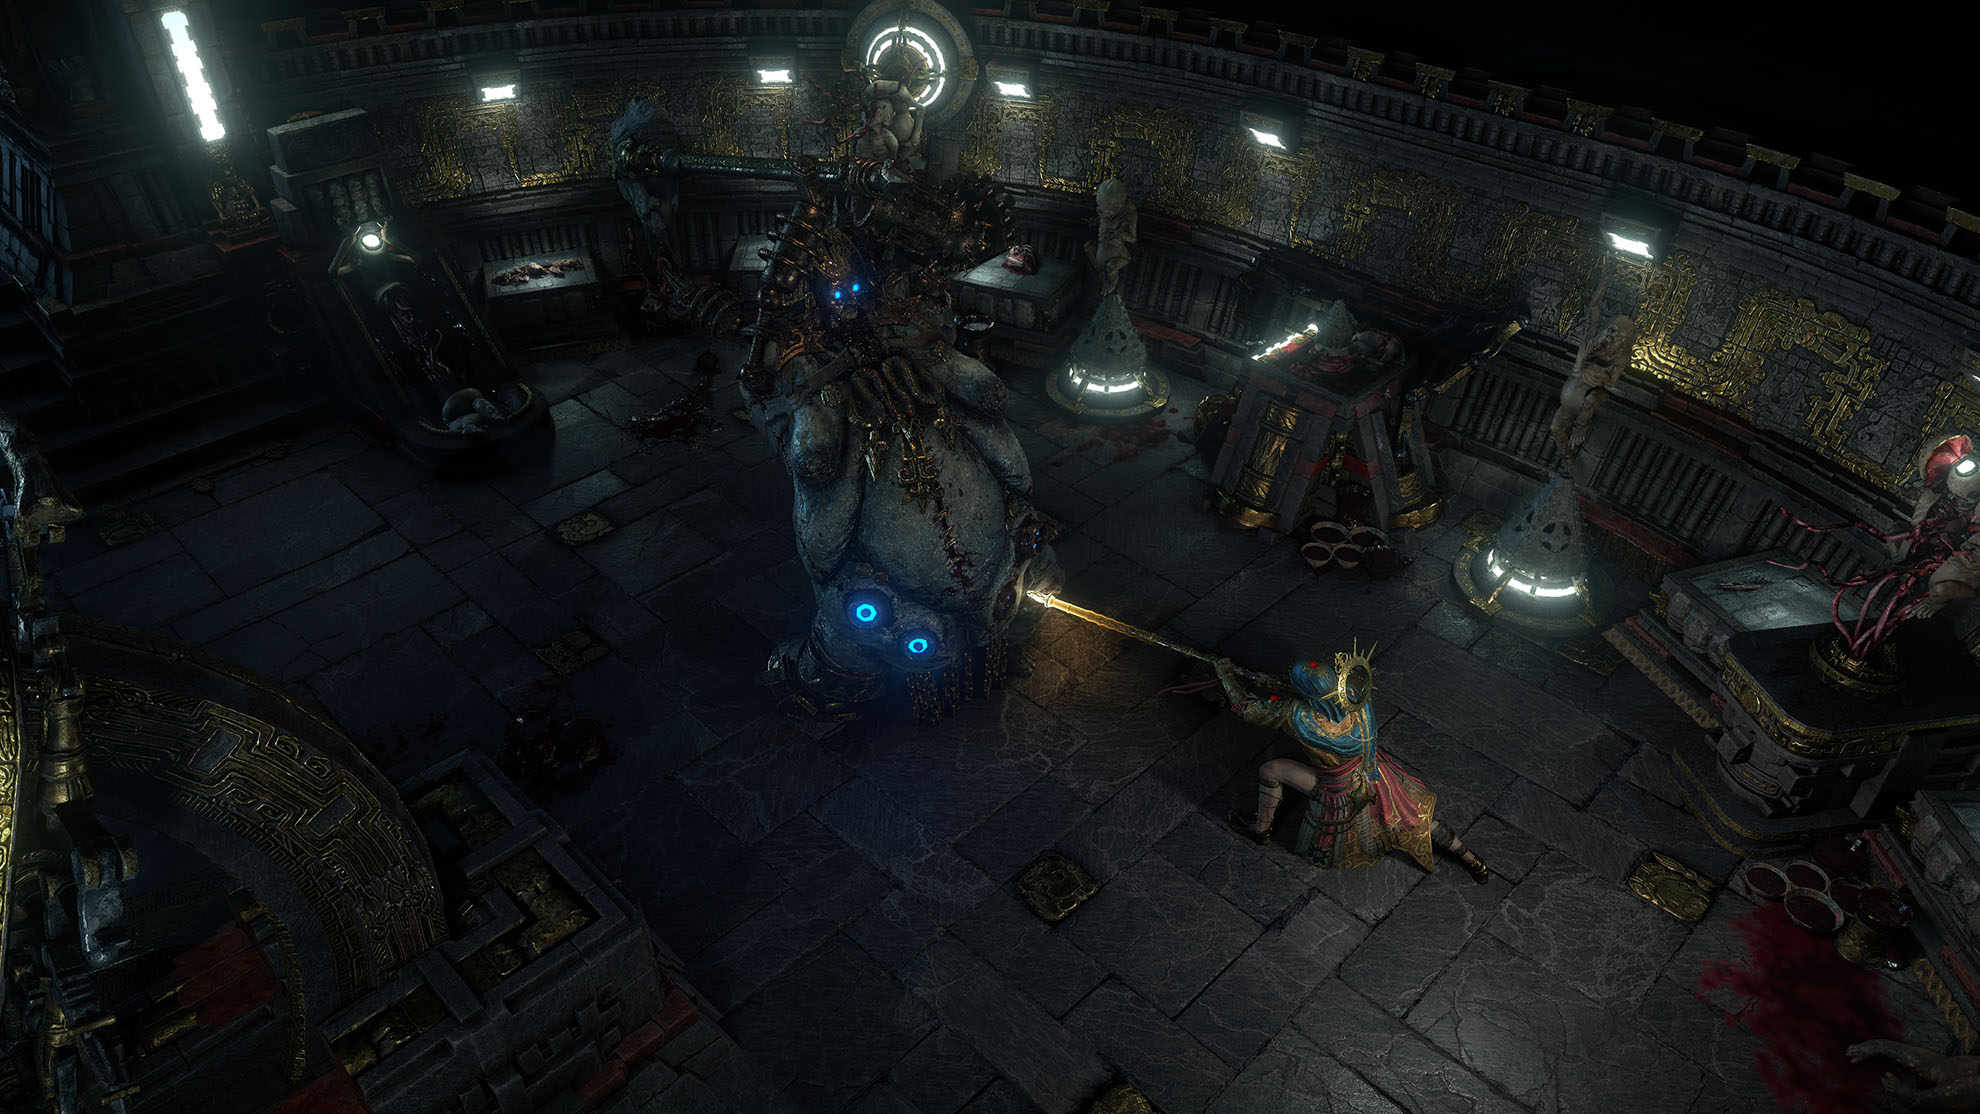
Chayula's Gift provides inherent chaos damage on all attacks, bypassing enemy elemental resistances entirely. Many endgame bosses stack elemental resistances but neglect chaos, making Acolyte builds deal consistent damage where Invoker might struggle against resistant targets.
Embrace the Darkness grants substantial damage reduction when standing still or channeling skills. This defensive layer encourages a more methodical playstyle, rewarding players who position correctly before engaging rather than constantly teleporting around.
Shroud of Darkness periodically grants complete immunity phases during combat. These immunity windows create breathing room for flask usage, skill cooldowns, or simply surviving burst damage that would kill other builds.
Void Touched increases chaos damage over time effects, synergizing with poison or decay-based builds. Dark Pact nodes enable life-spending mechanics for additional damage scaling.
Acolyte builds typically focus on Hollow Palm for unarmed chaos damage or Tempest Bell for sustained area control. The ascendancy performs exceptionally in hardcore leagues where defensive benefits outweigh the lower damage ceiling compared to Invoker.
Best Monk Builds for Patch 0.4
Tier S - Meta Defining
1. Storm Wave + Flicker Invoker
This build combines the screen-clearing mobility of Flicker Strike with Storm Wave's concentrated single-target damage. Currently holding the highest clear speed ratings on community tier lists, Storm Wave Invoker deletes map bosses while Flicker Strike maintains constant momentum between packs.
The rotation involves Flicker Strike for pack clearing, building Power Charges through kills, then unleashing Storm Wave for concentrated damage on rares and bosses. All three Invoker keystones contribute, with I am the Thunder providing the primary damage source.
Skill Progression: Level 1: Tempest Flurry for basic attacks, Power Siphon for charge generation. Level 15: Falling Thunder unlocks mobility, begin practicing teleport targeting. Level 28: Flicker Strike becomes available, dramatically improving clear speed. Level 38: Storm Wave provides single-target solution. Level 50+: Full Invoker keystones online, Herald of Ice for shatter chains.
2. Hollow Palm Monk
Widely considered the best league starter for any Monk build, Hollow Palm abandons weapons entirely for massive unarmed damage scaling. The Hollow Palm keystone converts your lack of equipped gloves into flat added damage that rivals endgame weapons with zero currency investment.
This build scales purely through passive tree nodes and gem levels, making it immune to bad luck with gear drops. New league players can progress through red maps on self-found gear while other builds struggle in white maps waiting for weapon upgrades.
The playstyle centers on Killing Palm consuming Power Charges for one-shot potential against rares and bosses. Pack clearing comes from any preferred skill - Tempest Flurry, Falling Thunder, or even basic attacks deal sufficient damage.
Skill Progression: Level 1: Any attack skill functions. Level 25: Acquire Hollow Palm keystone, unequip gloves permanently. Level 35: Establish Power Charge generation through tree or supports. Level 50: Killing Palm becomes primary single-target. Level 65+: Consider Acolyte ascendancy for hardcore viability.
Tier A - Highly Effective
3. One-Shot Falling Thunder/Flicker Hybrid
This build creates a satisfying hybrid mapping and bossing setup. Falling Thunder teleports into packs with guaranteed critical strikes while Flicker Strike maintains momentum through dense layouts. High Power Charge counts fuel devastating Killing Palm strikes that one-shot rares and chunk boss health bars.
The build requires more investment than Hollow Palm but scales higher with currency. Look for critical strike multiplier on gear and Power Charge duration on the passive tree.
4. Ice Strike Invoker
Specializing in freeze proliferation, Ice Strike Invoker shatters entire screens of enemies through Herald of Ice chains. This build sacrifices some single-target damage for unmatched defensive utility through permanent enemy freeze.
I am the Blizzard keystone enables the playstyle, but scaling freeze effect through gear and passives transforms it from occasional utility to guaranteed crowd control. Bosses with freeze immunity require a secondary skill setup.
5. Tempest Bell Acolyte
Tempest Bell creates lingering damage zones that stack for sustained area damage. Combined with Acolyte's chaos conversion, this build excels at ritual encounters, legion events, and any content involving stationary combat.
Embrace the Darkness synergizes perfectly since Tempest Bell encourages standing in optimal positions rather than constant movement. The build lacks mobility compared to Flicker variants but compensates with superior area denial.
Tier B - Solid Performers
6. Falling Thunder Leveling
Providing the smoothest campaign experience, pure Falling Thunder builds require nothing beyond attack speed and added damage. The skill teleports to enemies, deals area damage on arrival, and generates Power Charges on kill.
This serves as an excellent template before transitioning to specialized endgame builds around level 70. The core mechanics teach Monk fundamentals without overwhelming complexity.
7. Poison Hollow Palm Acolyte
Combining Hollow Palm's unarmed damage with Acolyte's chaos scaling, this build stacks poison for damage over time that continues ticking during repositioning. Tankier than pure damage variants thanks to Embrace the Darkness, though clear speed suffers compared to hit-based builds.
8. Power Charge Stacker
Maximizing Power Charge count through gear and passives, this build reaches 10+ charges for massive Killing Palm strikes. The playstyle involves careful charge management - never consuming charges on weak enemies, always maintaining near-maximum stacks for dangerous encounters.
Hardcore Mode Survival Guide
Monk's hybrid nature provides excellent hardcore viability through evasion and energy shield layering. Unlike pure evasion classes that occasionally take full damage from unlucky hits, Monk builds can maintain energy shield buffers that absorb spike damage.
Recommended Hardcore Builds
Hollow Palm with Acolyte of Chayula stands as the safest Monk option for hardcore leagues. Embrace the Darkness provides 20%+ damage reduction while channeling or standing still, and Shroud of Darkness immunity phases create escape windows during dangerous encounters. Chaos damage bypasses enemy elemental resistances, ensuring consistent clear speed even when wearing full defensive gear.
Invoker remains viable for hardcore when built defensively. Freeze from I am the Blizzard prevents enemy attacks entirely - frozen enemies deal zero damage. This requires maintaining freeze uptime through sufficient damage and freeze effect investment. Ice Strike Invoker with freeze proliferation can lock down entire screens before enemies act.
Defensive Stat Thresholds
These represent minimum targets for comfortable hardcore progression:
| Stat | Campaign |
| Life | 2,000 |
| Energy Shield | 500 |
| Evasion Rating | 5,000 |
| Elemental Resistances | 75% |
| Chaos Resistance | -20% |
| Spell Suppression | 30% |
Movement and Positioning
Falling Thunder and Flicker Strike provide instant repositioning, but careless use teleports directly into danger. Practice using these skills to escape rather than engage when facing dangerous rares or boss mechanics. Many hardcore deaths occur when players Flicker into a pack containing a dangerous rare they didn't notice.
Maintain Power Charges before engaging threatening enemies. A full charge bar enables immediate Killing Palm execution for quick elimination or provides the damage bonus needed to freeze or stagger threats before they attack.
During boss fights, save mobility skills for dodging telegraphed attacks rather than maximizing damage uptime. Dead characters deal zero damage - prioritize survival over DPS optimization.
One-Shot Prevention
Monk builds commonly achieve high evasion but neglect physical damage reduction. Against enemies that bypass evasion through spells or ground effects, this creates vulnerability to physical spike damage. Invest in armor through hybrid bases or the Determination aura to establish a physical damage floor.
Spell suppression proves essential for surviving caster enemies since evasion only applies to attacks. Aim for 100% spell suppression before pushing into red maps where caster rares become common.
Avoid running dangerous map modifiers until your character exceeds the stat thresholds above. Extra damage modifiers, reduced resistances, or additional projectiles multiply the danger significantly.
Monk Skill Progression
Monk skills unlock progressively through character levels and quest rewards:
Level 1: Tempest Flurry (rapid multi-hit), Power Siphon (charge generation)
Level 4: Quarterstaff basic attacks, early movement skills
Level 12: Killing Palm becomes available - save for single-target use
Level 16: Tempest Bell unlocks area damage options
Level 24: Falling Thunder provides first true mobility skill
Level 28: Flicker Strike dramatically improves clear speed
Level 38: Storm Wave available for projectile builds
Level 50+: Ascendancy skills online through labyrinth completion
Leveling Tips for All Modes
Acts 1-3: Tempest Flurry carries early content with minimal socket investment. Pick up any quarterstaff with high physical damage - base type matters more than modifiers at this stage. Focus on life and elemental resistances from armor pieces. Movement speed on boots significantly improves campaign pacing.
Acts 4-6: Transition to Falling Thunder as your primary mobility and damage skill. The teleport targeting requires practice but trivializes dangerous encounters once mastered. Add Flicker Strike if your socket colors support it. Begin Power Charge generation through passive tree nodes or support gems - charges should feel impactful by Act 5.
Acts 7-10: Complete your first labyrinth and ascend into Invoker or Acolyte based on your chosen build path. Invoker's elemental damage trivializes remaining campaign content through freeze and shock. Acolyte players should prioritize Embrace the Darkness for survivability against late-act difficulty spikes.
Resistances become critical in Act 6 onward. The resistance penalty applies after Act 5, and neglecting elemental resistances causes avoidable deaths. Prioritize capping resistances over damage increases.
Endgame Transition: Respec into your final build configuration around level 70 when passive points allow full build expression. Hollow Palm requires unequipping gloves and pathing to the keystone - plan your respec route beforehand. Storm Wave builds need the gem from Act 6+ content if you haven't acquired it already.
Gear Progression
Universal Priorities
Weapons (Non-Hollow Palm): Attack speed and flat elemental damage provide the largest early upgrades. Critical strike chance becomes valuable once you have sufficient base damage. Look for quarterstaves with 1.5+ attacks per second.
Armor: Evasion/Energy Shield hybrid bases offer the best stat efficiency for Monk builds. Pure evasion works but sacrifices the energy shield buffer that prevents one-shots.
Flasks: Diamond Flask for critical builds, Jade Flask for evasion stacking, Quicksilver for movement speed. Life flasks remain mandatory in hardcore.
Early Mapping (Tier 1-5)
Rare quarterstaves with attack speed and elemental damage suffice for early maps. Prioritize capping resistances and reaching 3,000+ life before pushing damage. Atziri's Step boots provide spell suppression and movement speed in a single slot.
Mid Mapping (Tier 6-10)
Unique quarterstaves like Hegemony's Era enable Power Charge synergies that define Monk gameplay. Aspect of the Cat or Aspect of the Spider crafted onto rare items provide significant damage multipliers. Diamond Flask uptime becomes essential for critical-based builds.
Endgame (Tier 11+)
+1 Power Charge corruptions on amulets and rings push charge-stacking builds to their ceiling. Watcher's Eye jewels with relevant Hatred or Wrath modifiers provide massive damage increases. Elevated influence modifiers on armor pieces maximize evasion and energy shield simultaneously.
Hollow Palm builds scale through attribute stacking - look for Dexterity on every possible gear slot. Each point of Dexterity converts to flat damage, making seemingly minor upgrades surprisingly impactful.
The Monk rewards players who master its rapid combo-based gameplay and Power Charge management. Whether channeling elemental fury as an Invoker or embracing the void as an Acolyte of Chayula, this class delivers satisfying high-speed action with clear upgrade paths from league start to endgame.
For more POE2 builds, check out the Ranger and Warrior guides.\n\nStriking with lightning speed and devastating combos, the Monk channels elemental martial arts to obliterate enemies across Wraeclast. This hybrid Intelligence/Dexterity class excels at rapid-fire attacks, Power Charge generation, and seamless transitions between quarterstaff combat and unarmed techniques. Whether you prefer freezing screens solid as an Invoker or embracing void damage as an Acolyte of Chayula, the Monk delivers satisfying high-speed action with builds ranging from glass cannon to surprisingly tanky.
Get Gaming News and Features First
Stay updated with the latest gaming news and exclusive content.
